This has probably been the most requested blog to date! So here it is, our caravan renovation blog post!
DISCLAIMER – we in no way claim to be experts in this field – we are simply sharing our experience in renovating our caravan. I also recommend that you check your drivers license and the rules and regulations in this area before starting the process!
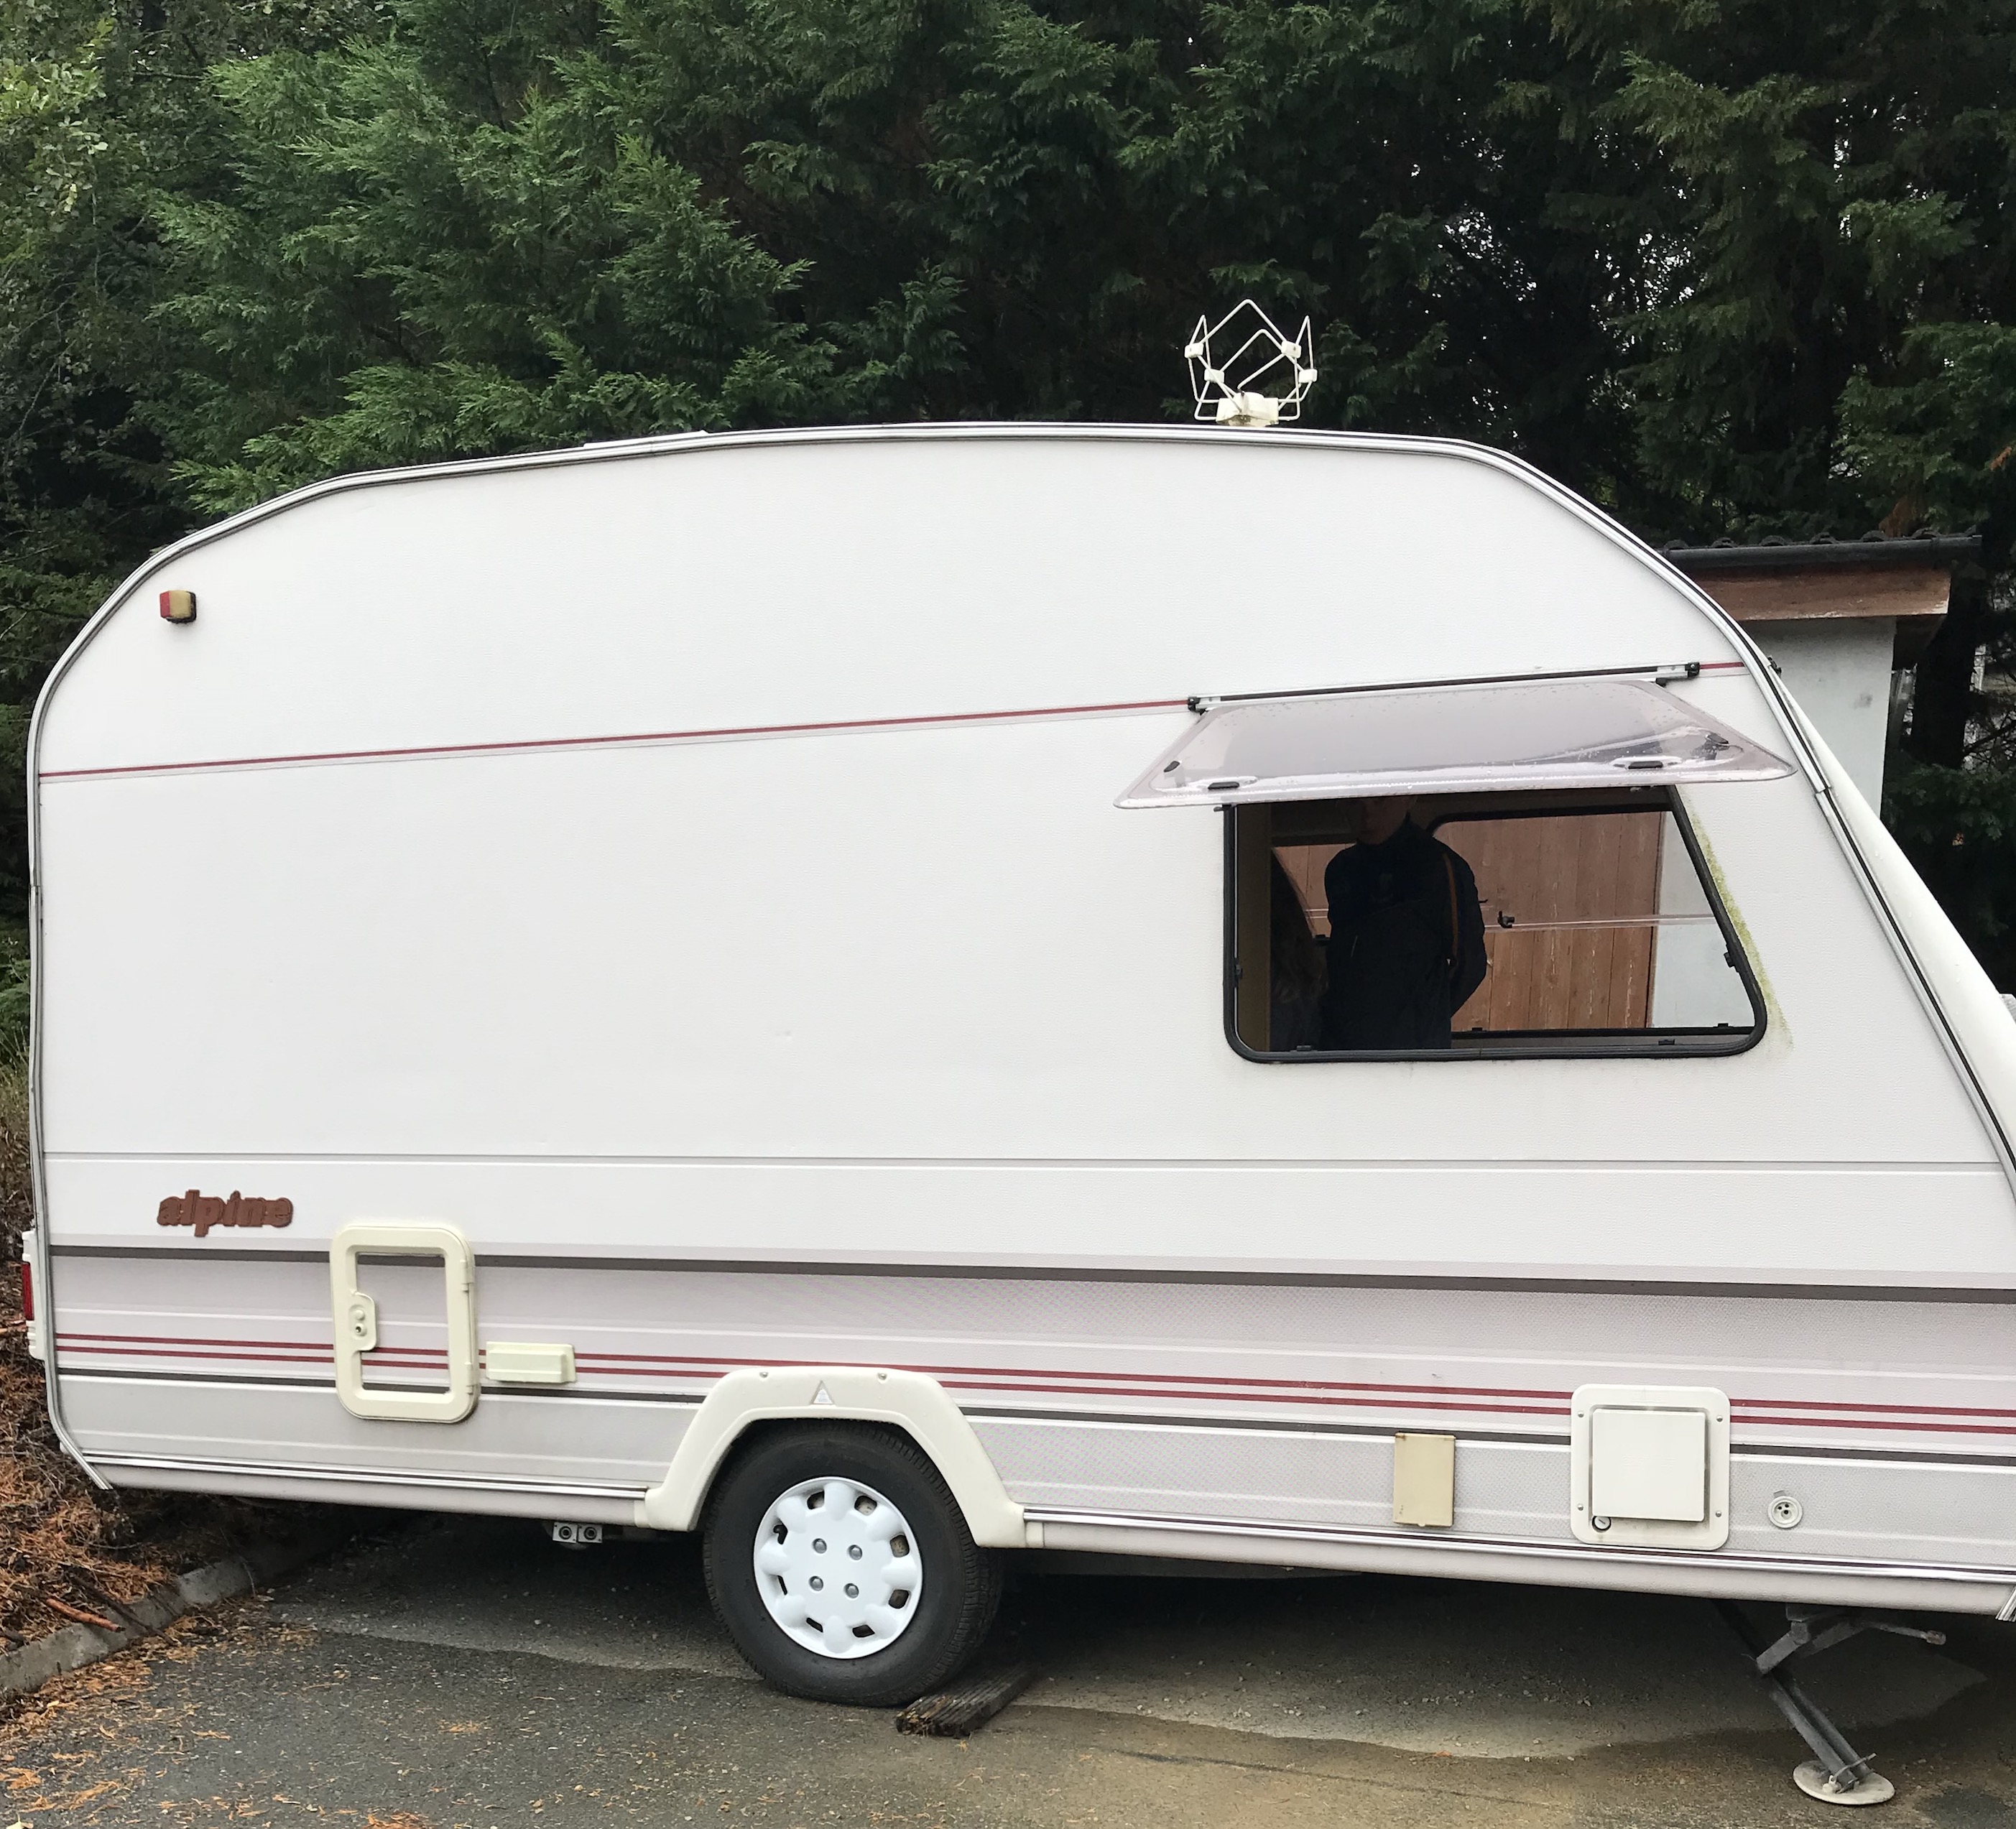
We started with the purchase of the caravan itself! We waited till late in the summer season to get the best price – when potentially prices are lower as people try to “get rid” of them. We got ours for €1100 after searching and looking for a few on Done Deal. It’s important to note here that we then got the caravan checked entirely – we went to Charles Camping in Blessington where they offer full service, checking electrics, plumbing, gas, locks, tyres, Axel, handles and lights etc. All wiring and pipes are tested and certified. The cost of this was €300. The next big question is – where to store it. We live in an estate so parking it up outside our house would not be possible. Luckily Dave has family members close by who have both work yards and space in their home yards and they all kindly allowed us to store it but it’s definitely a question worth considering before investing in your own, as this could ramp up the price if you needed to store it through the year.
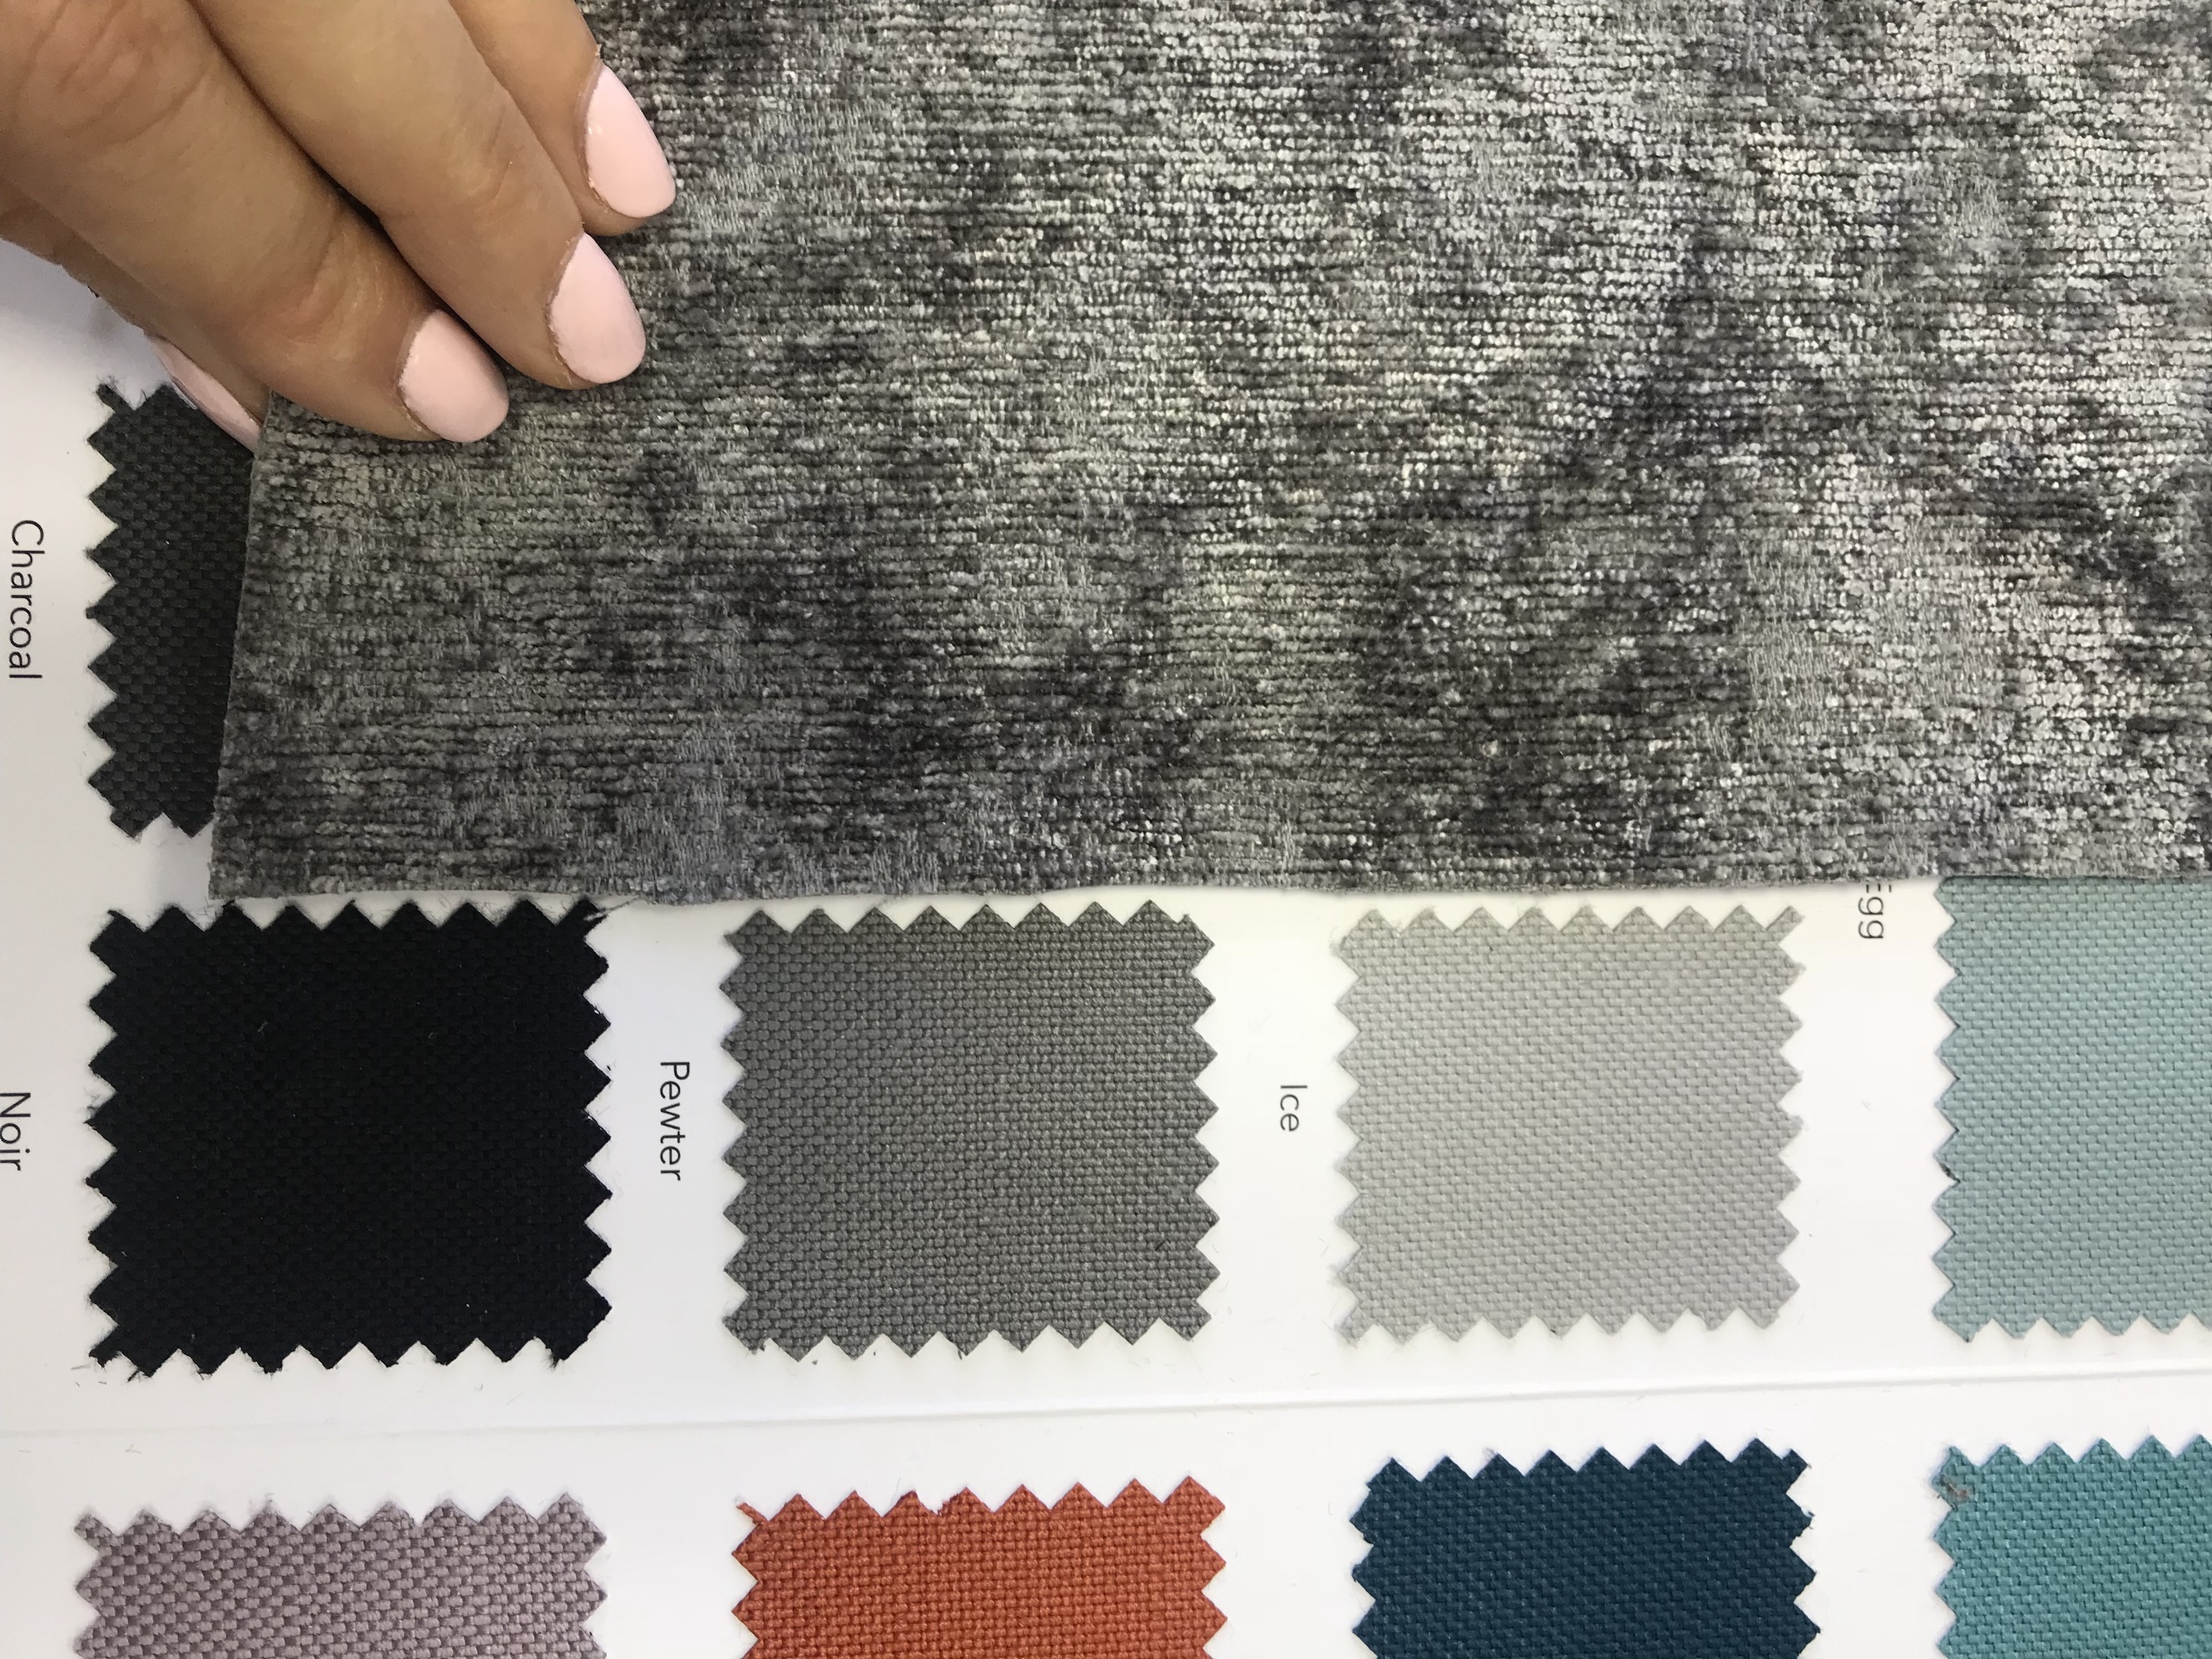
Now it was time to tackle the good stuff! We started by stripping cushions and curtains from the caravan to get them re-upholstered. It’s important to note that – you may find you can make do with the ones you have for a time. After a good clean they may be fine depending on the condition of the caravan you buy. We opted to get the cushions re-upholstered and we used The Chair Doctor in Baldonnell Dublin to do this. We went and chose the fabric and also left in the old curtains so the shape and size could be replicated in our new fabric. This was the most costly part of the renovation coming in at €800. Again I will stress though that this might not have to be done – or at least not straight away.
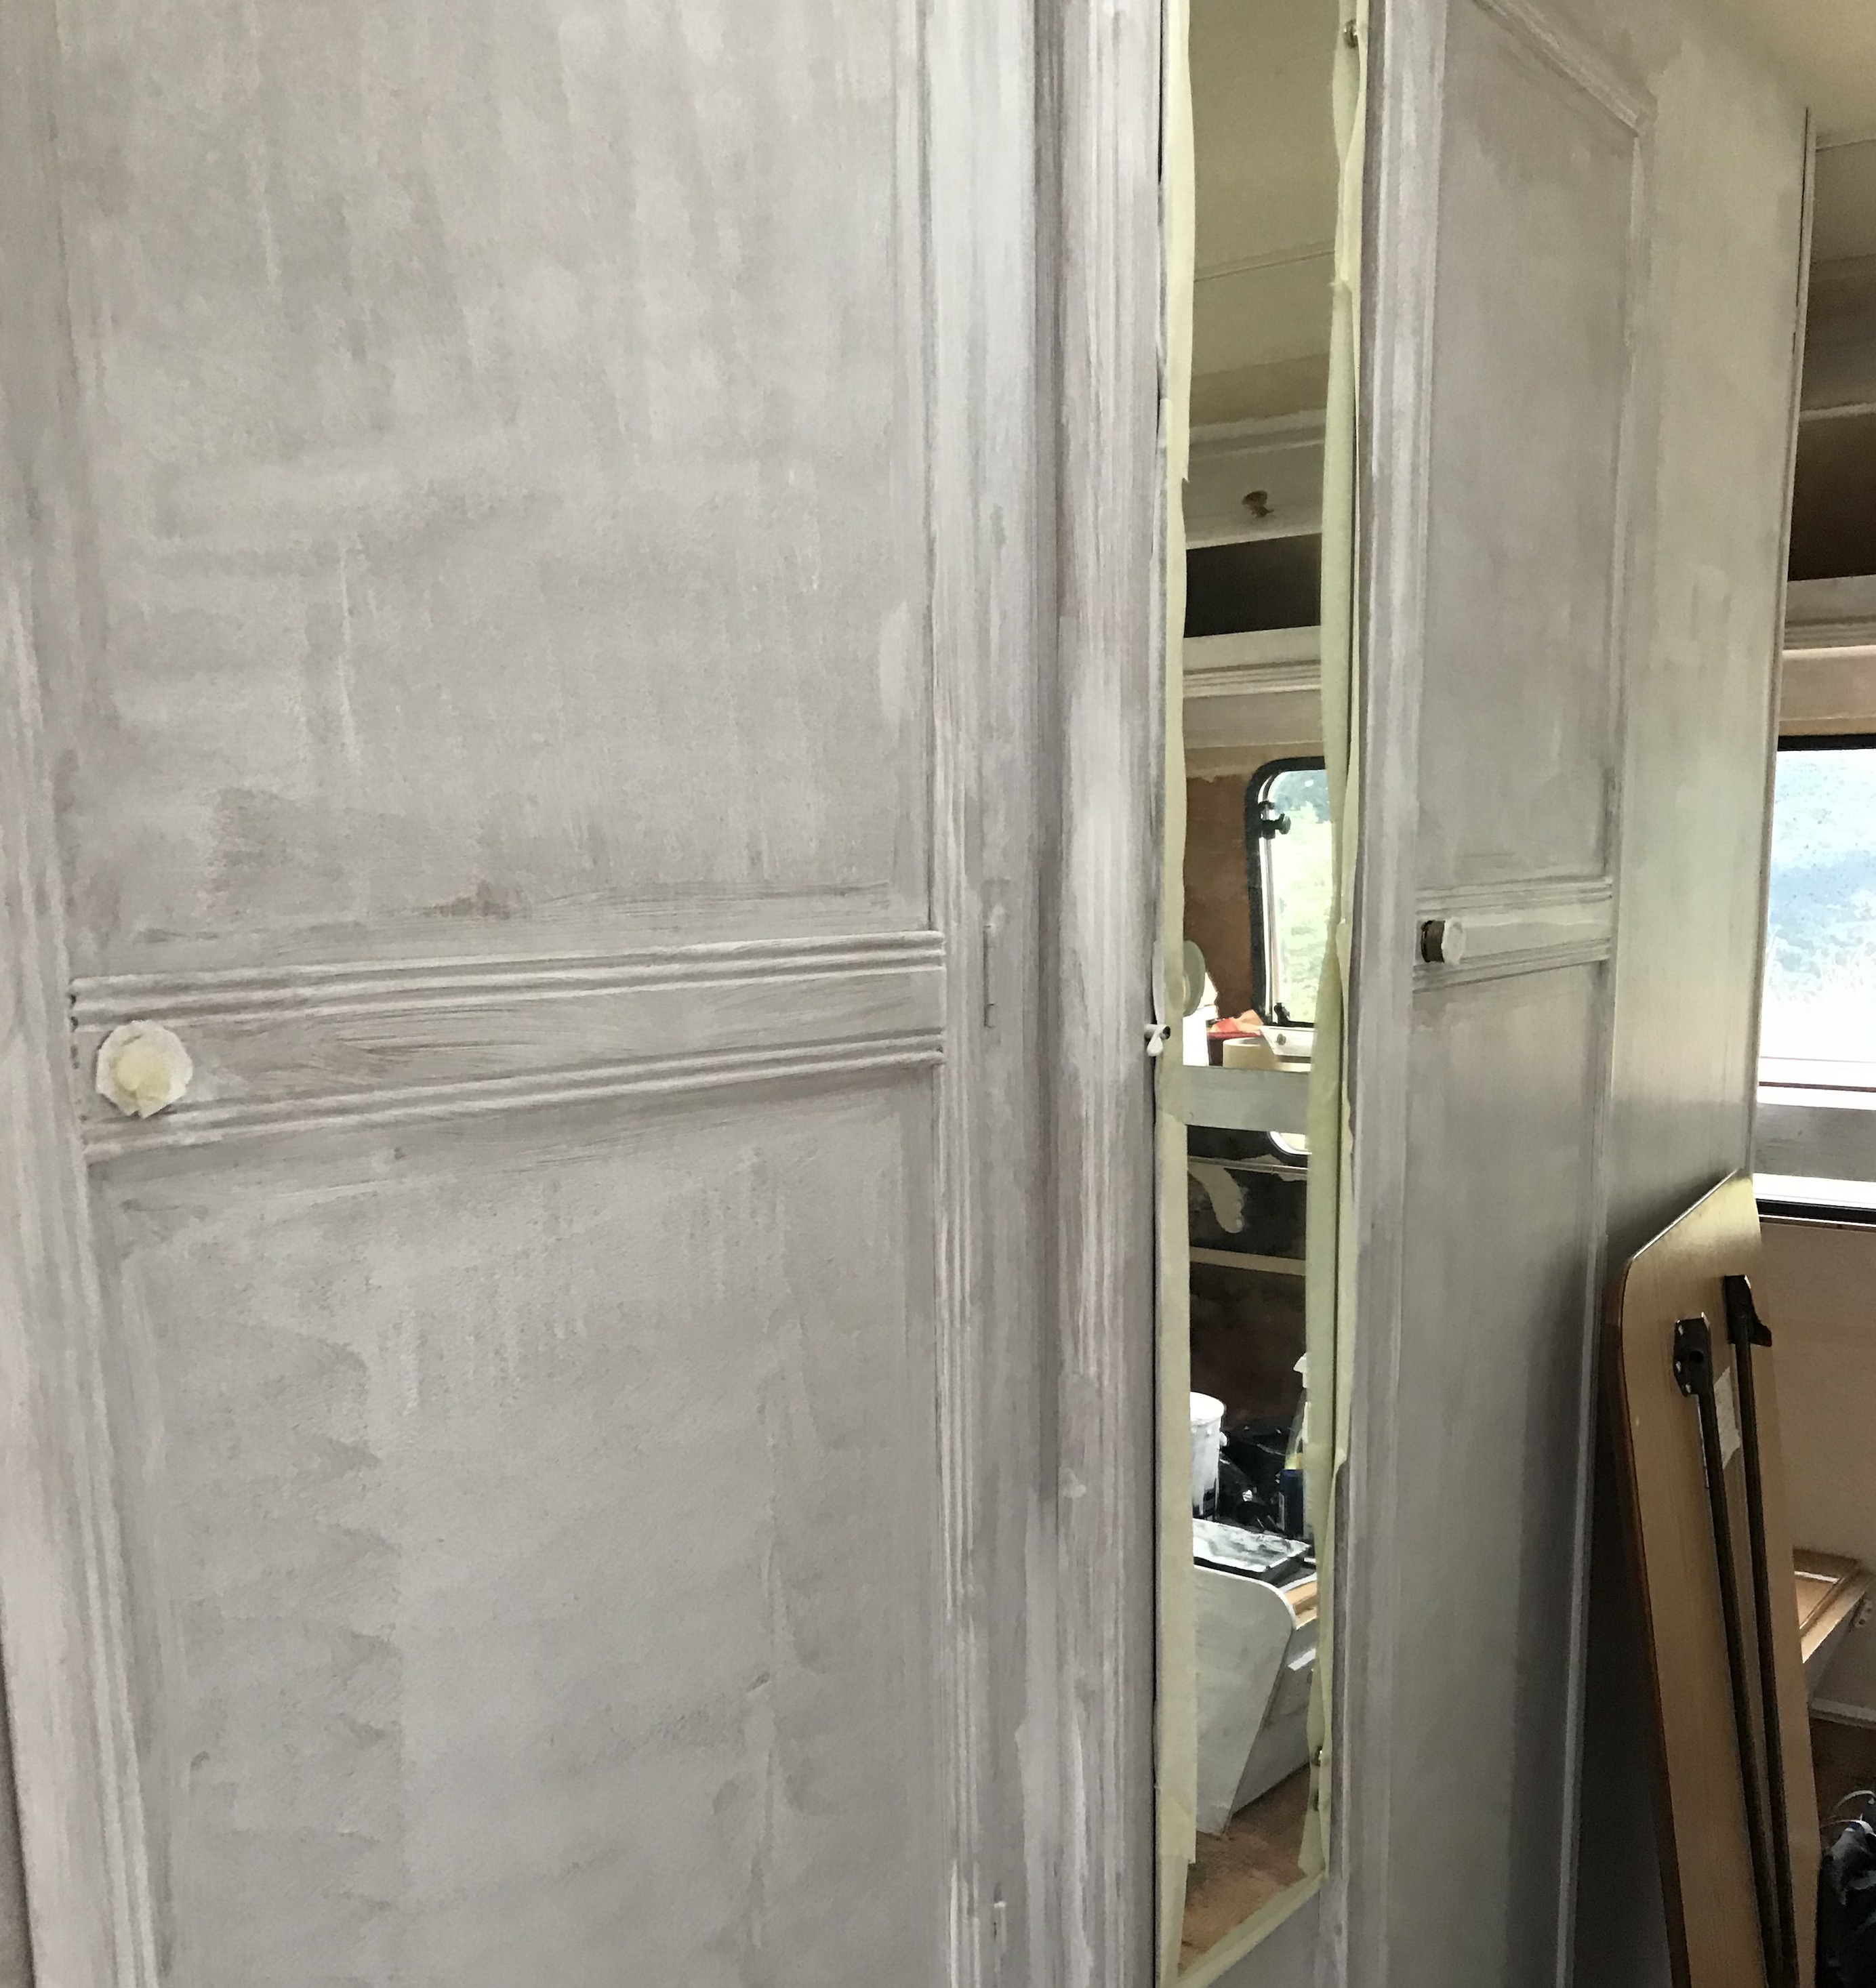
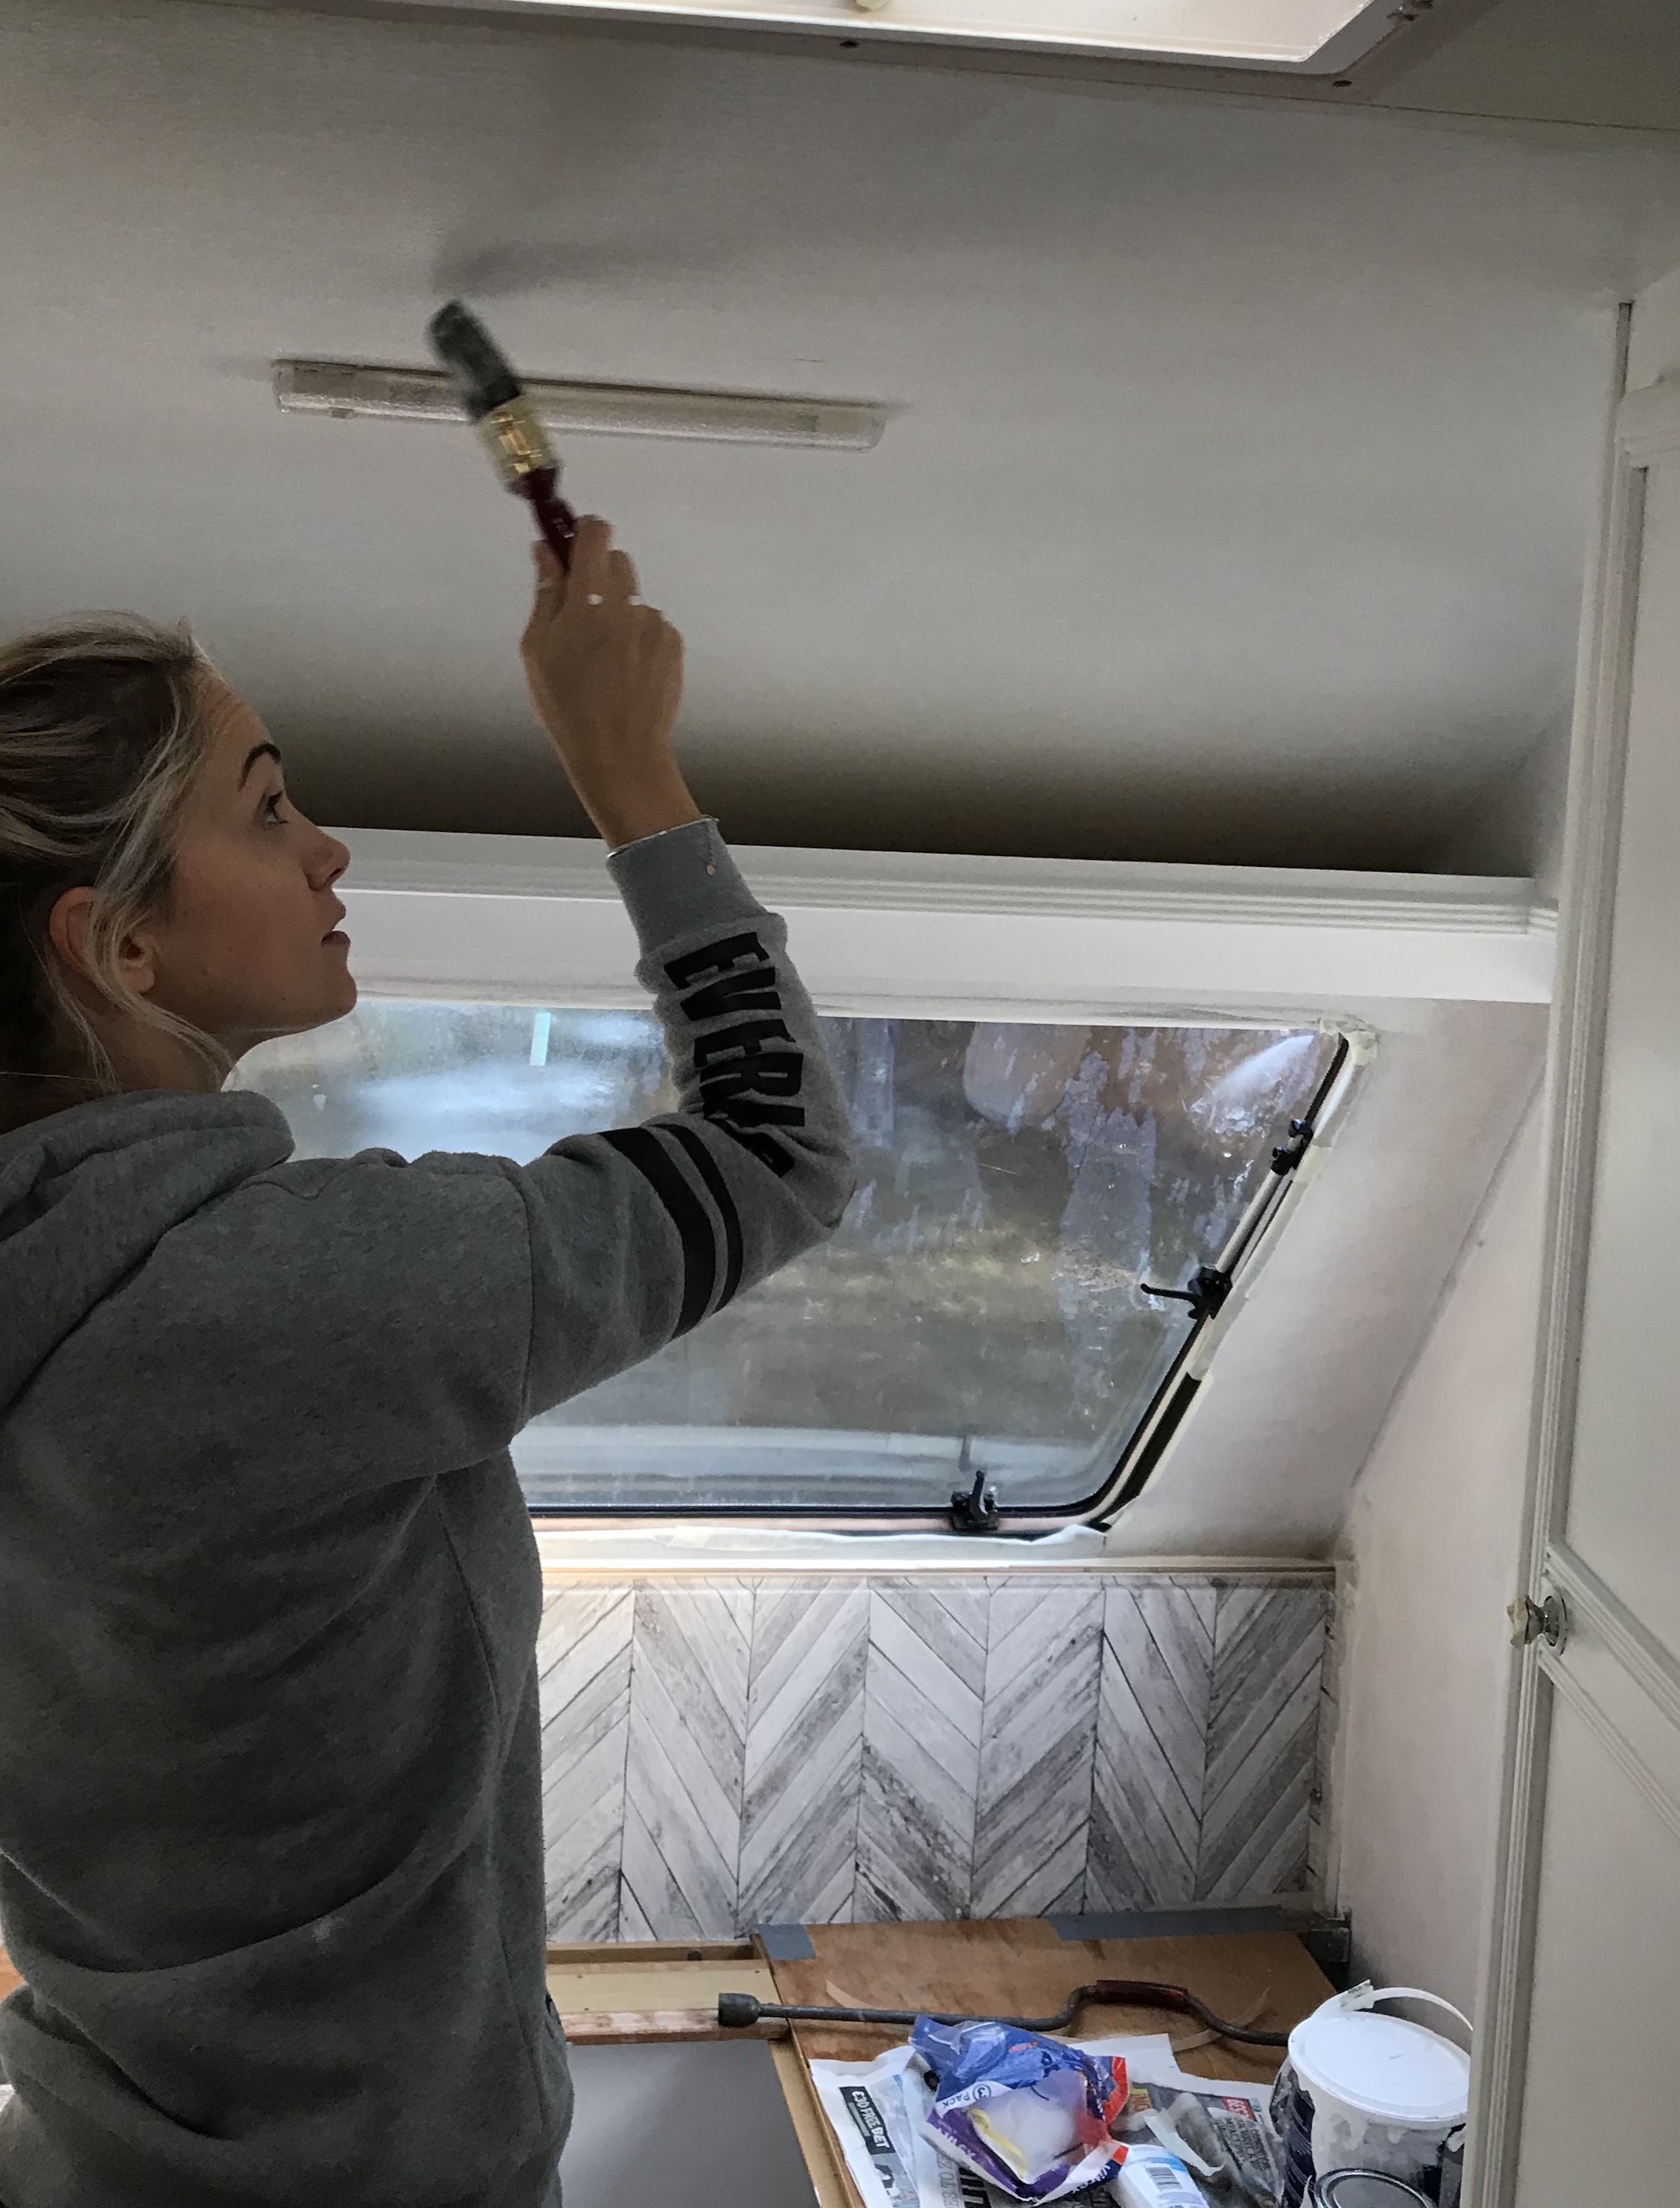
The next job was to prep the interior for painting. A simple bottle of sugar scrub, warm water and elbow grease is all we used, cleaning inside and outside of all surfaces. Once dried, it was ready to prime. We got the recommendation in store on paint and settled on a water based primer and satinwood finish for all wood surfaces. On the ceiling we used a regular emulsion paint. In all I probably did three full coats of paint on all surfaces leaving each one overnight to dry. I don’t have an exact figure on paint costs but for paint and tools it was definitely no more than €150.
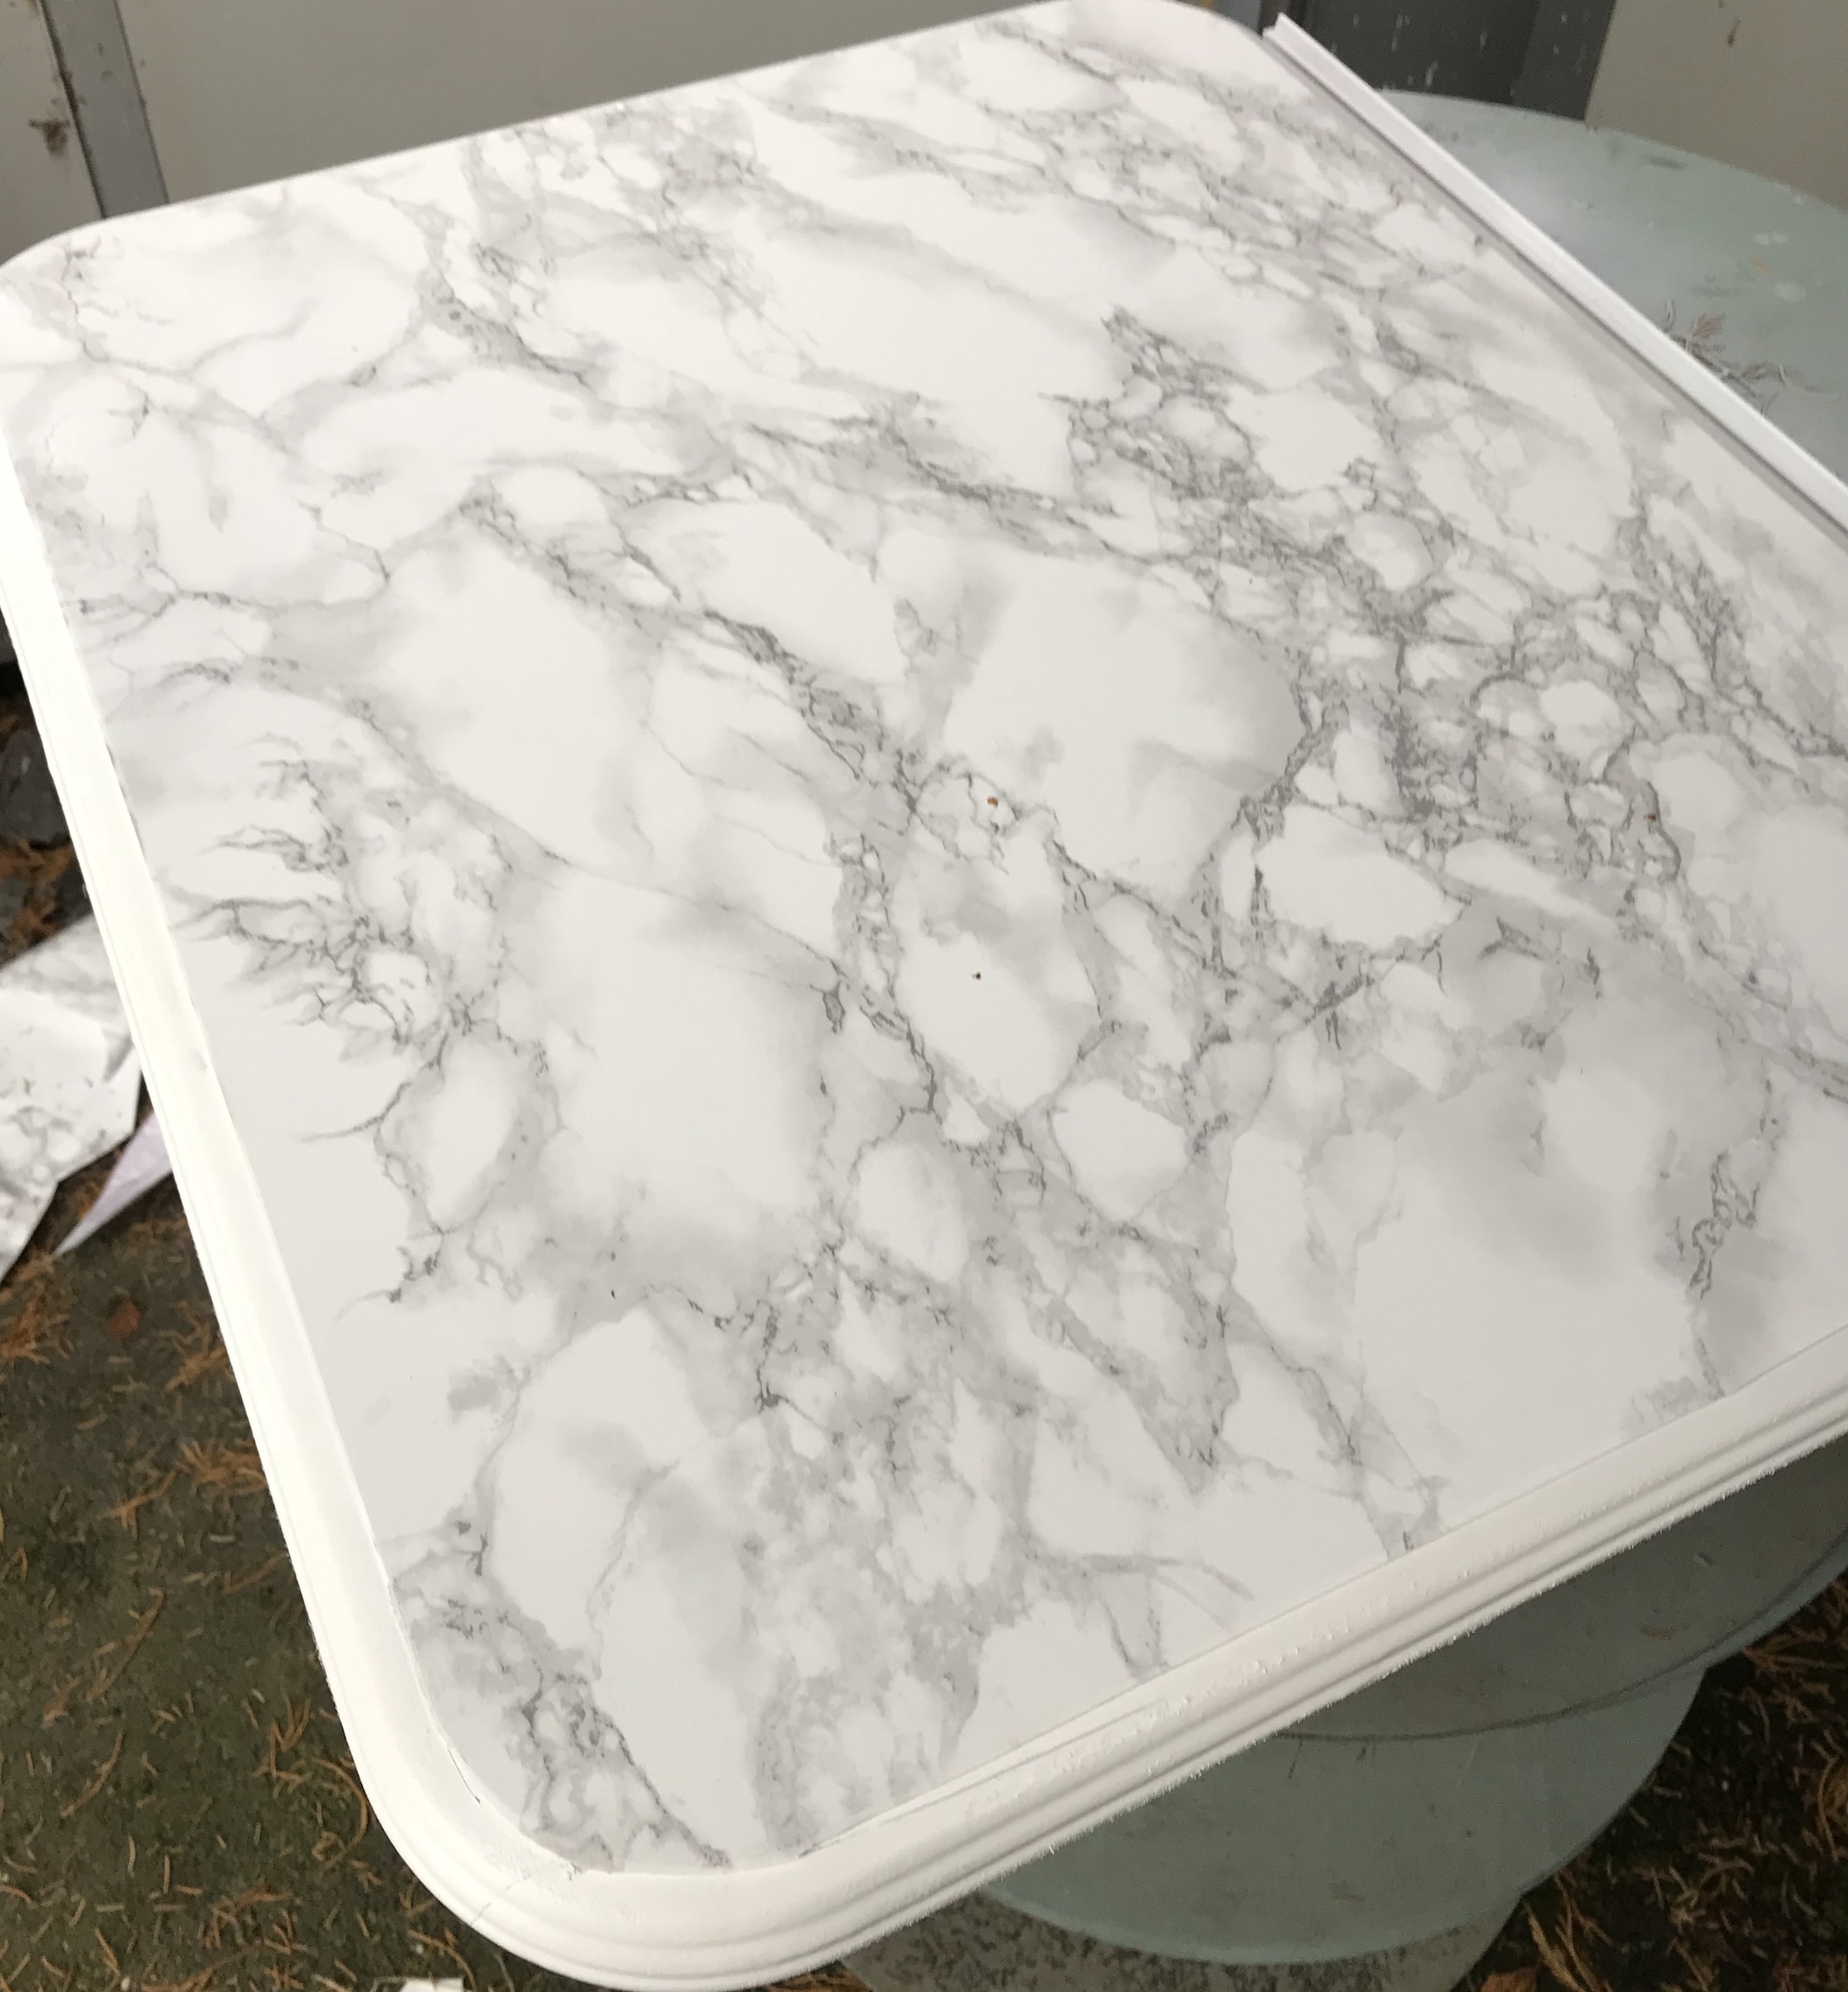
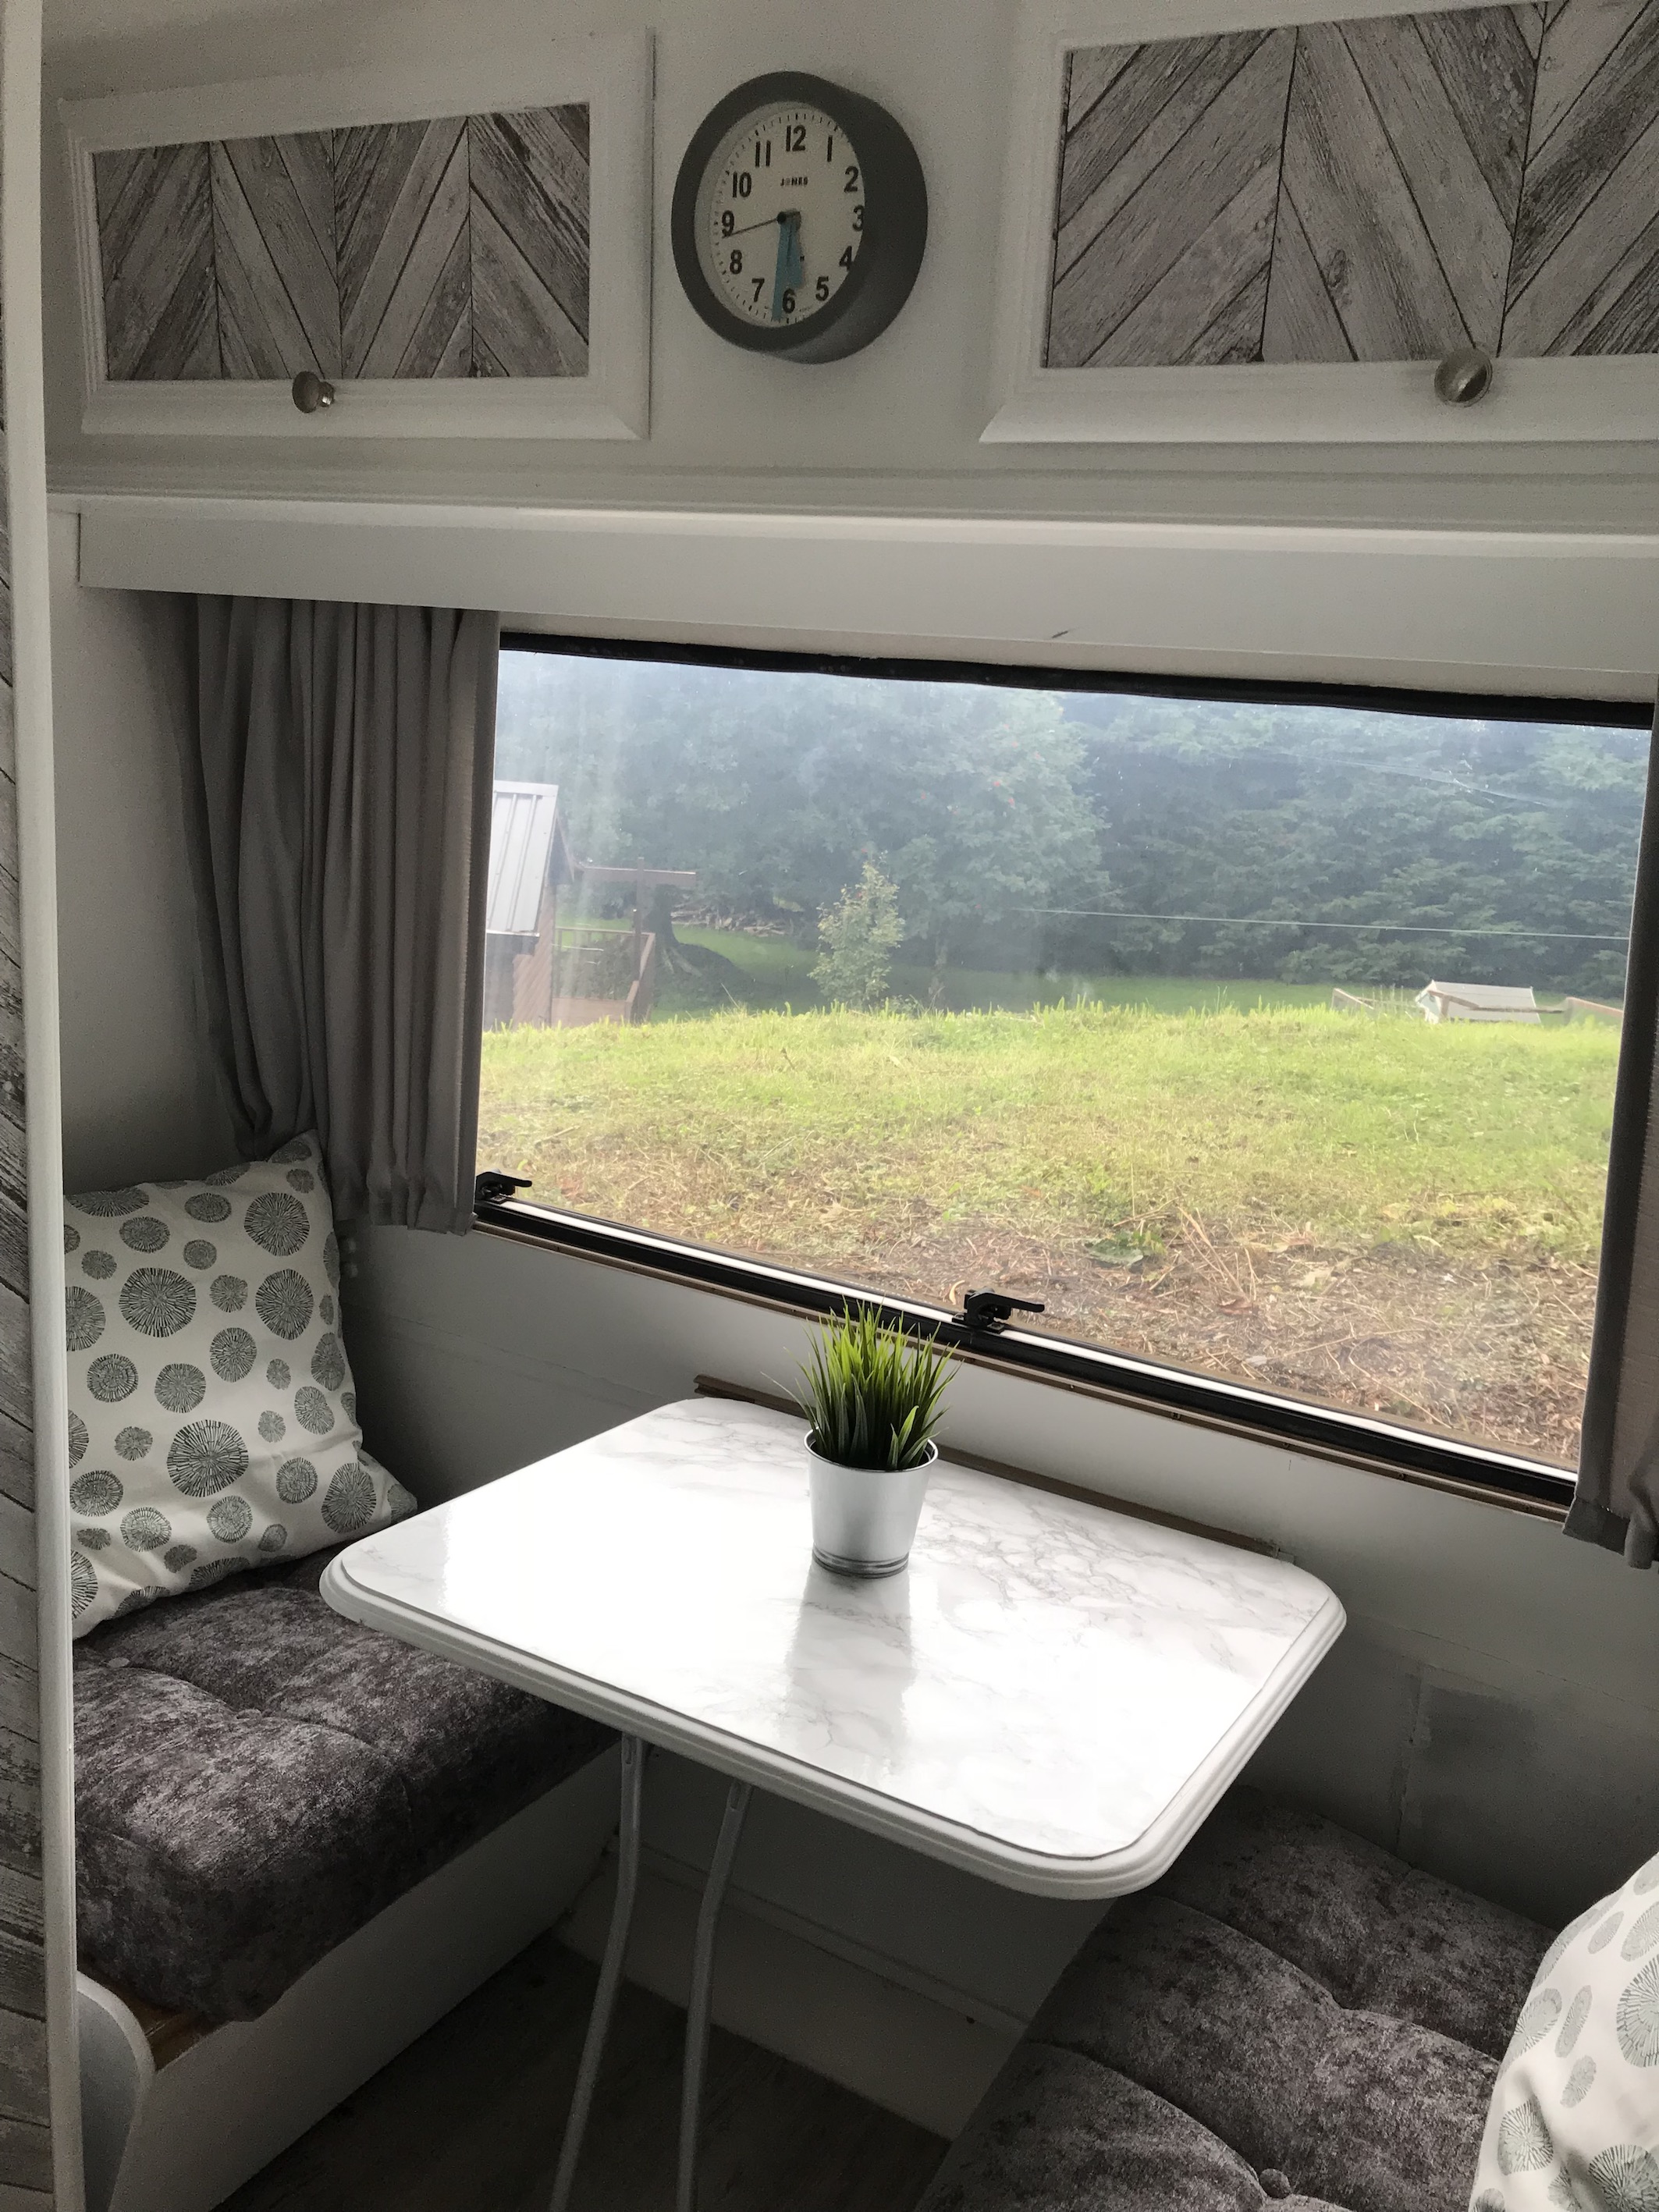
David worked on transforming the surfaces of the two tables and the worktop – again seeing the price as low as possible – he opted for simple contact paper from B&Q. Here is the one we got CLICK HERE. B&Q does not seem to have an Irish online store so all these prices are in £ sterling, however if you pop instore there are numerous styles to choose from. We also used contact paper in a different style on the inside of the main door and as a “skirting board” on some of the walls. We used a style similar to this one CLICK HERE. In total we probably used 3-4 rolls of contact paper priced at less than €10 per roll. Dave finished the tables by spray painting the legs silver.

Dave also wallpapered one wall and some of the presses to add a little something different. We probably used 1-2 rolls of wallpaper. This is the style we used was on offer in B&Q at the time so it was a bargain! Again this can be added or you can just settle on using the paint. It’s completely up to you! The walls of the caravan work with a simple emulsion paint.
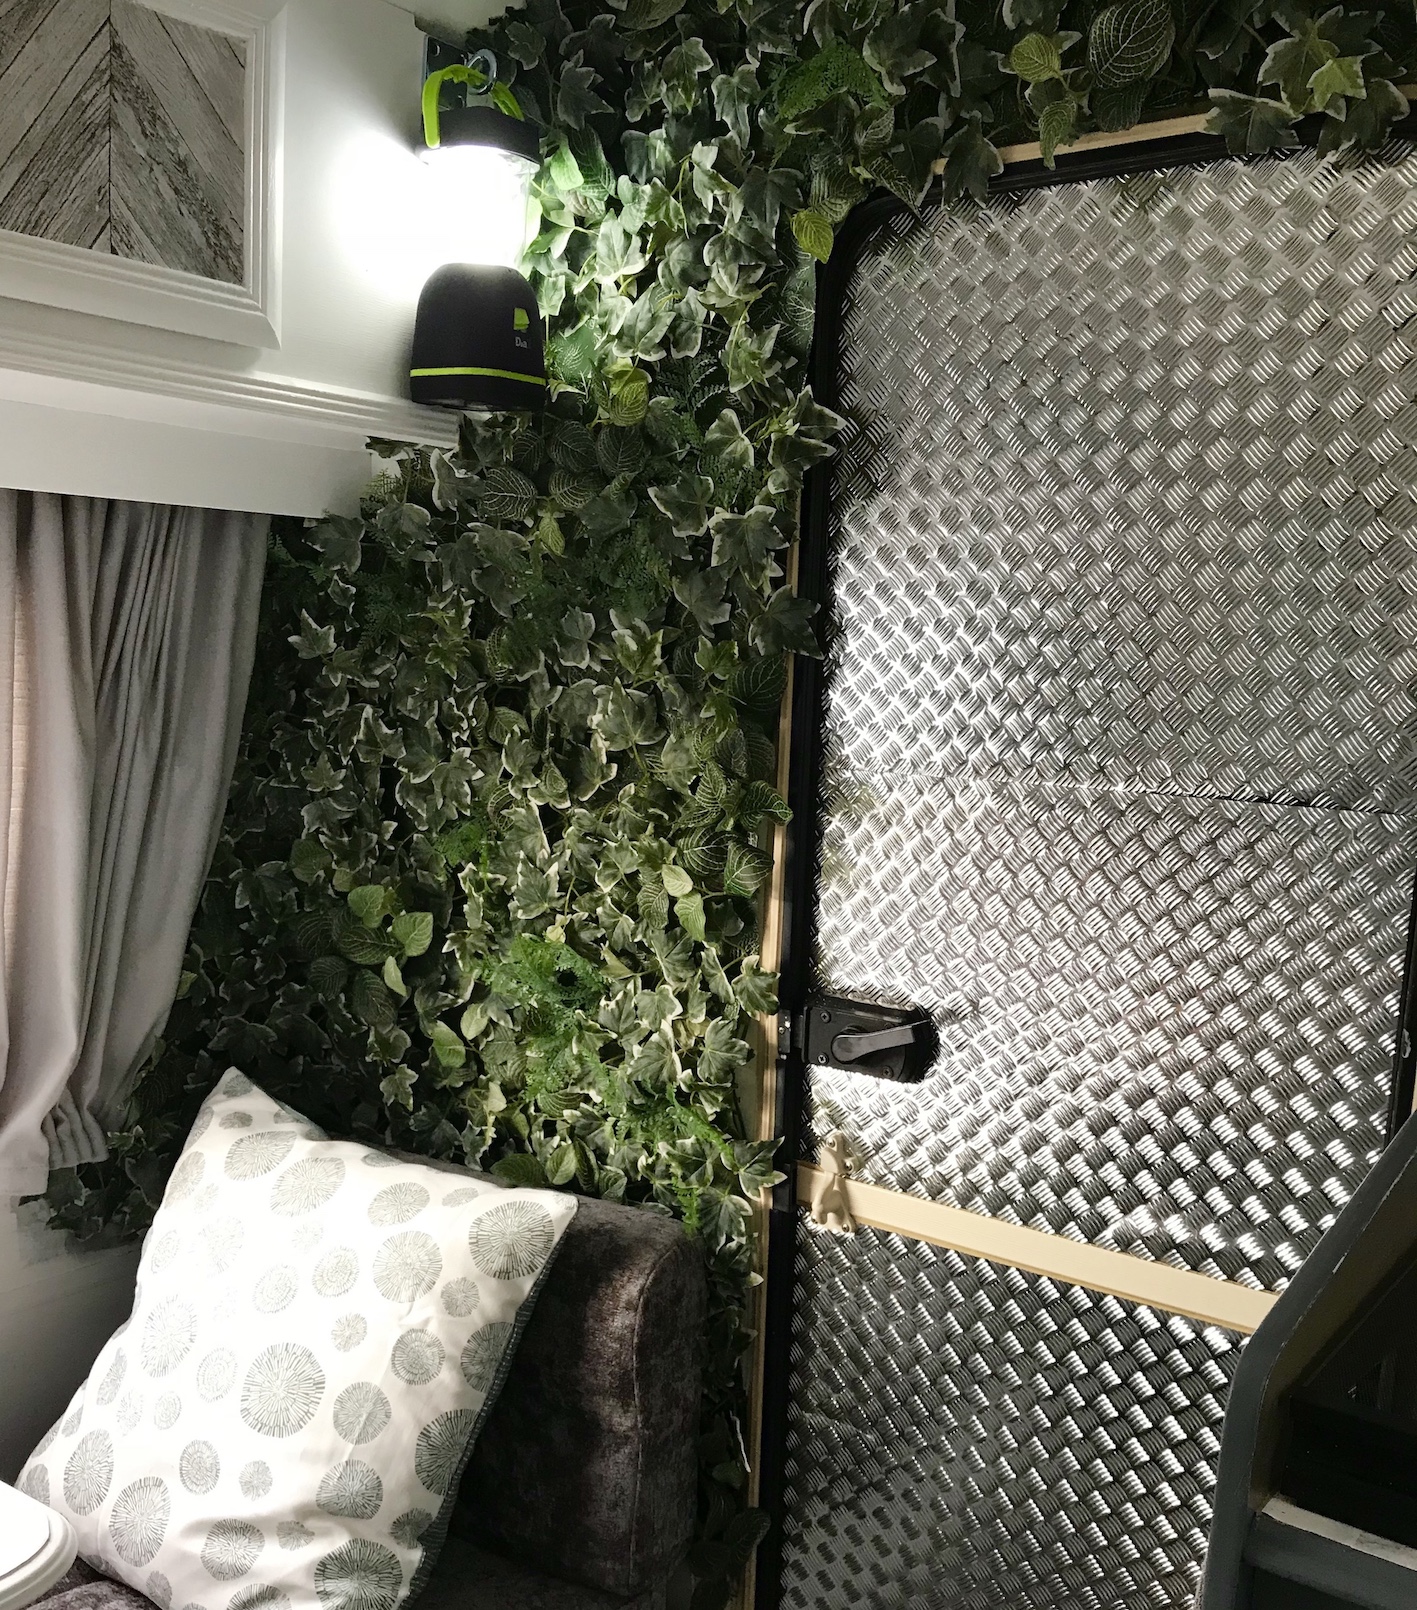
There was one area of the caravan inner wall that we had to replace due to dampness – this is where Dave is great as he simply cut the interior wall out and replaced it with new ply wood. We then had to get creative to cover it as simply painting it would have been too obvious. We saw this amazing ivy in Ikea and bought enough squares to cover the amended wall. It’s now my favourite feature in the caravan! Here they are online – CLICK HERE.
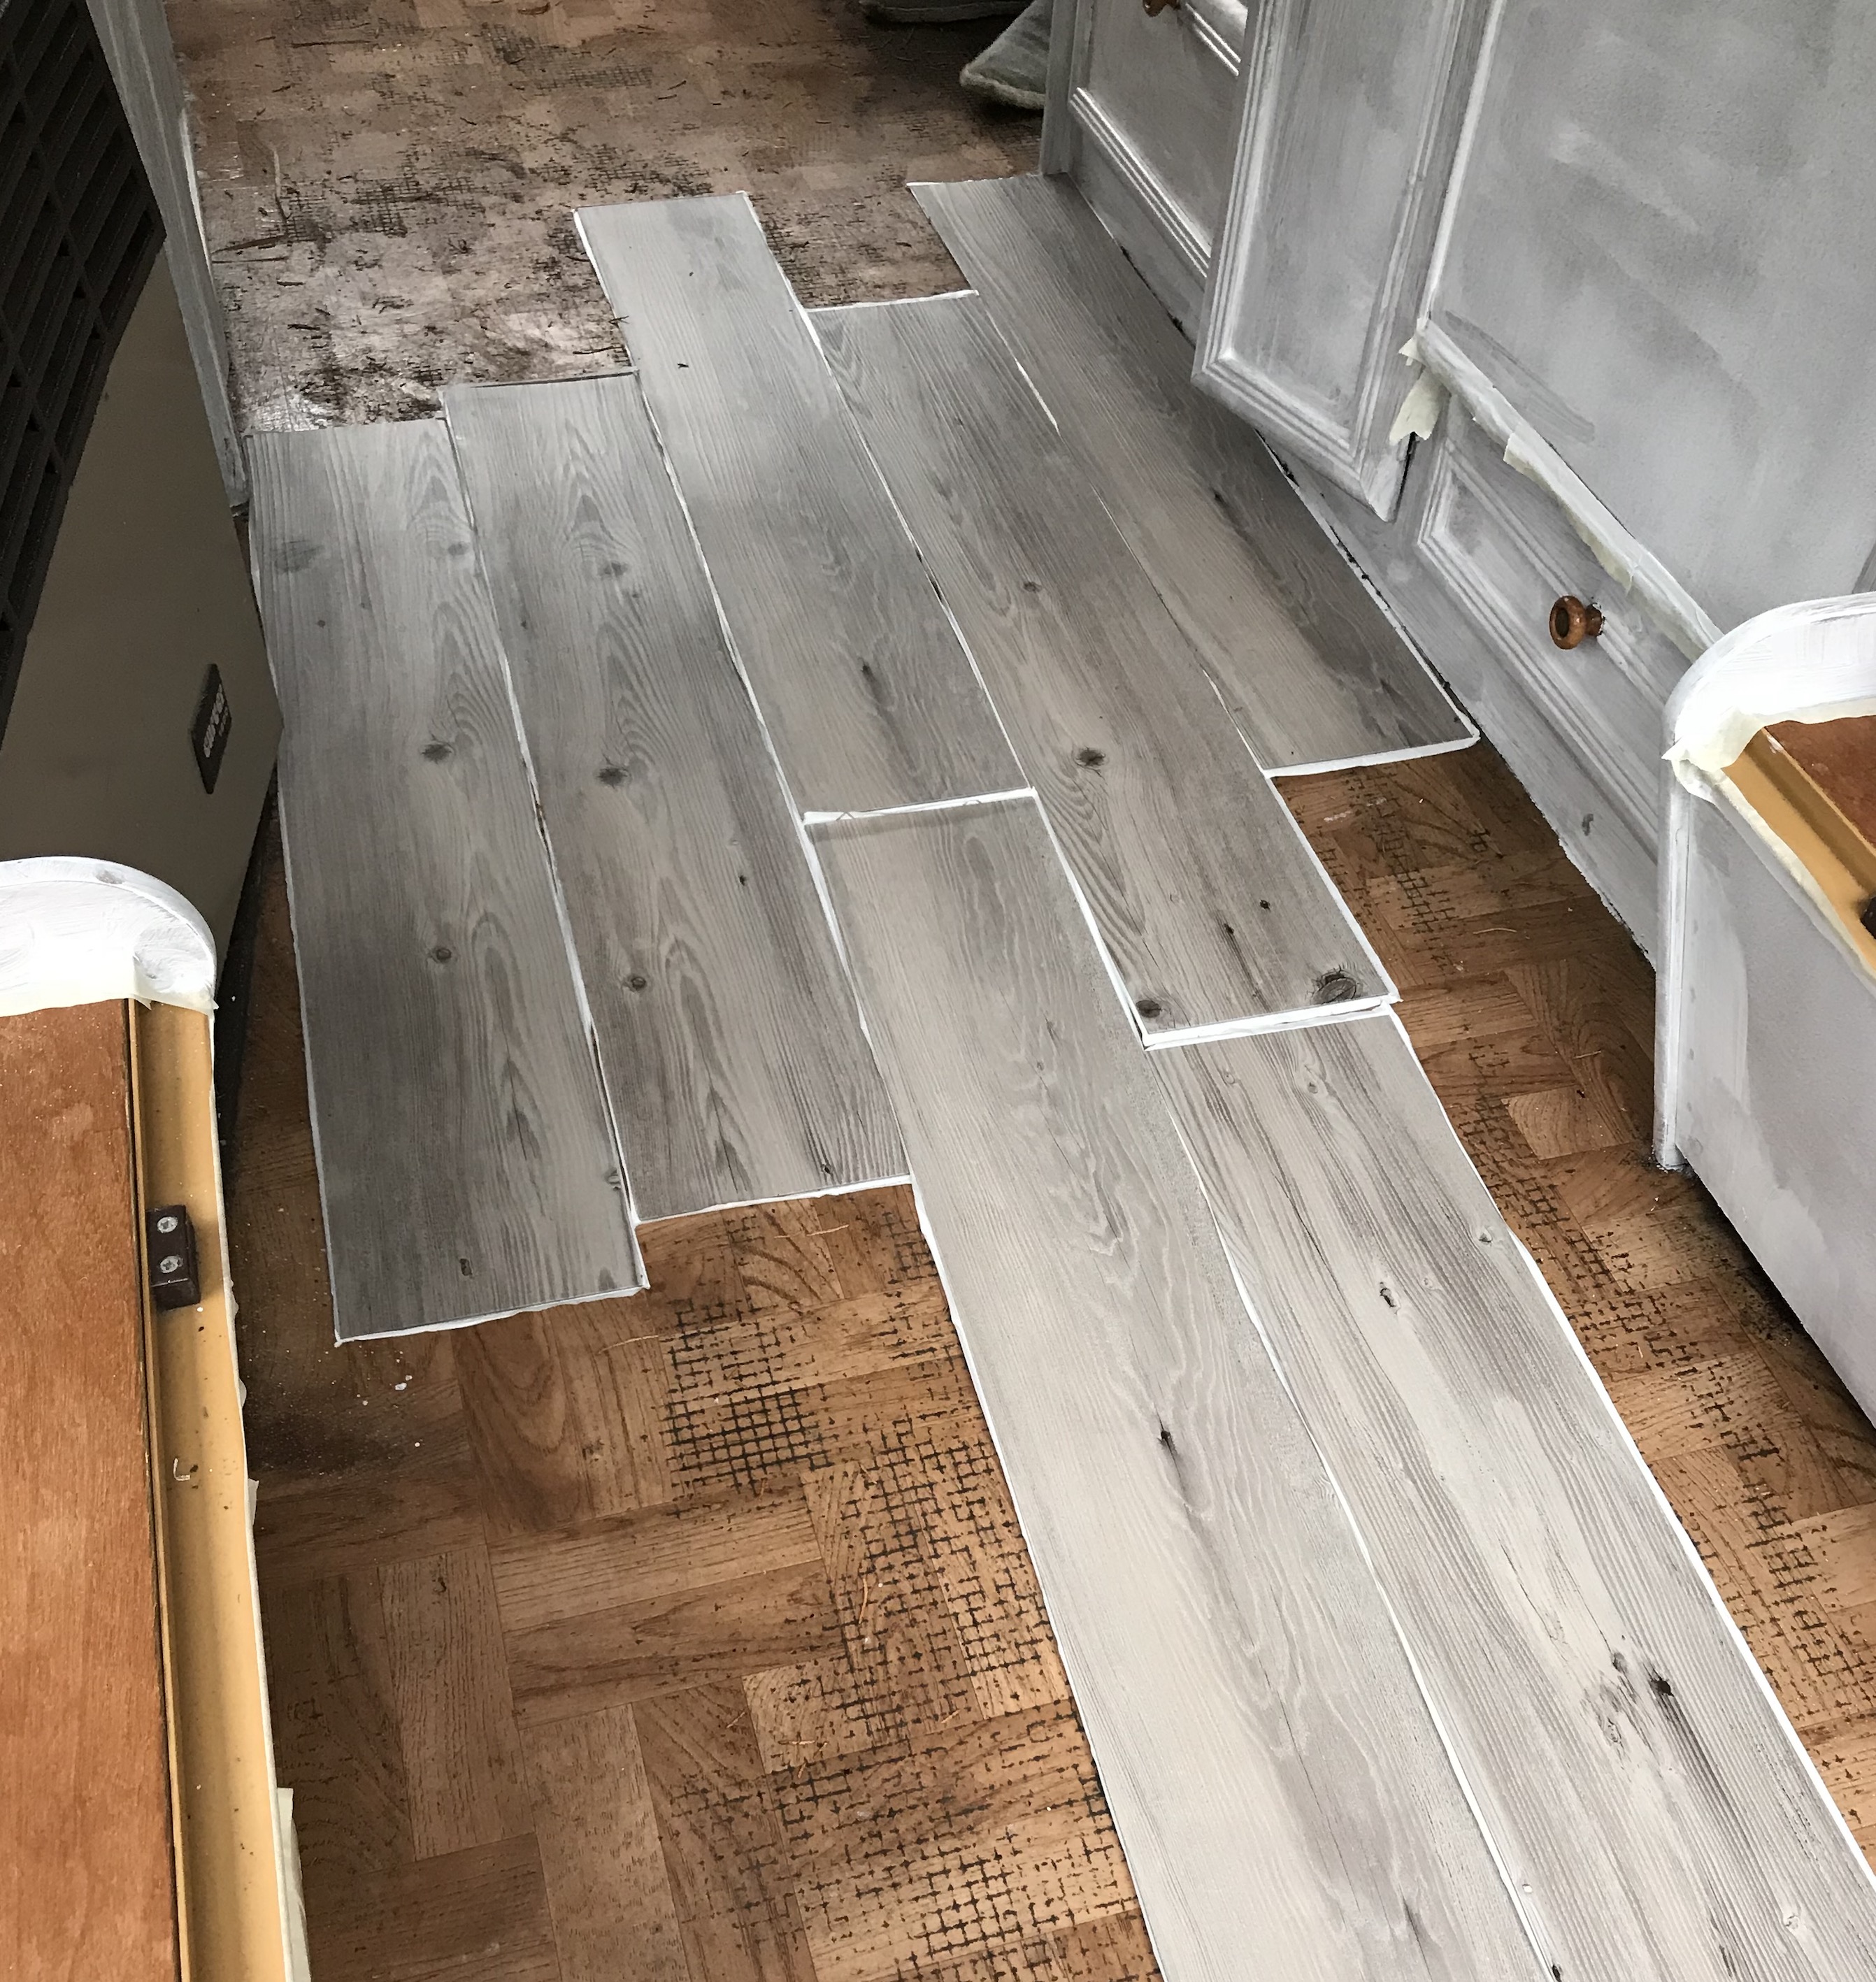
The flooring was also extremely cheap and easy to lay down. We hoovered out the interior and found this amazing adhesive Lino-like flooring in Homesavers. It cost €9 per box and we needed 4 boxes to complete it so we floored the caravan for €36. Pop in store and see the numerous styles available. It was perfect for this small floor space.
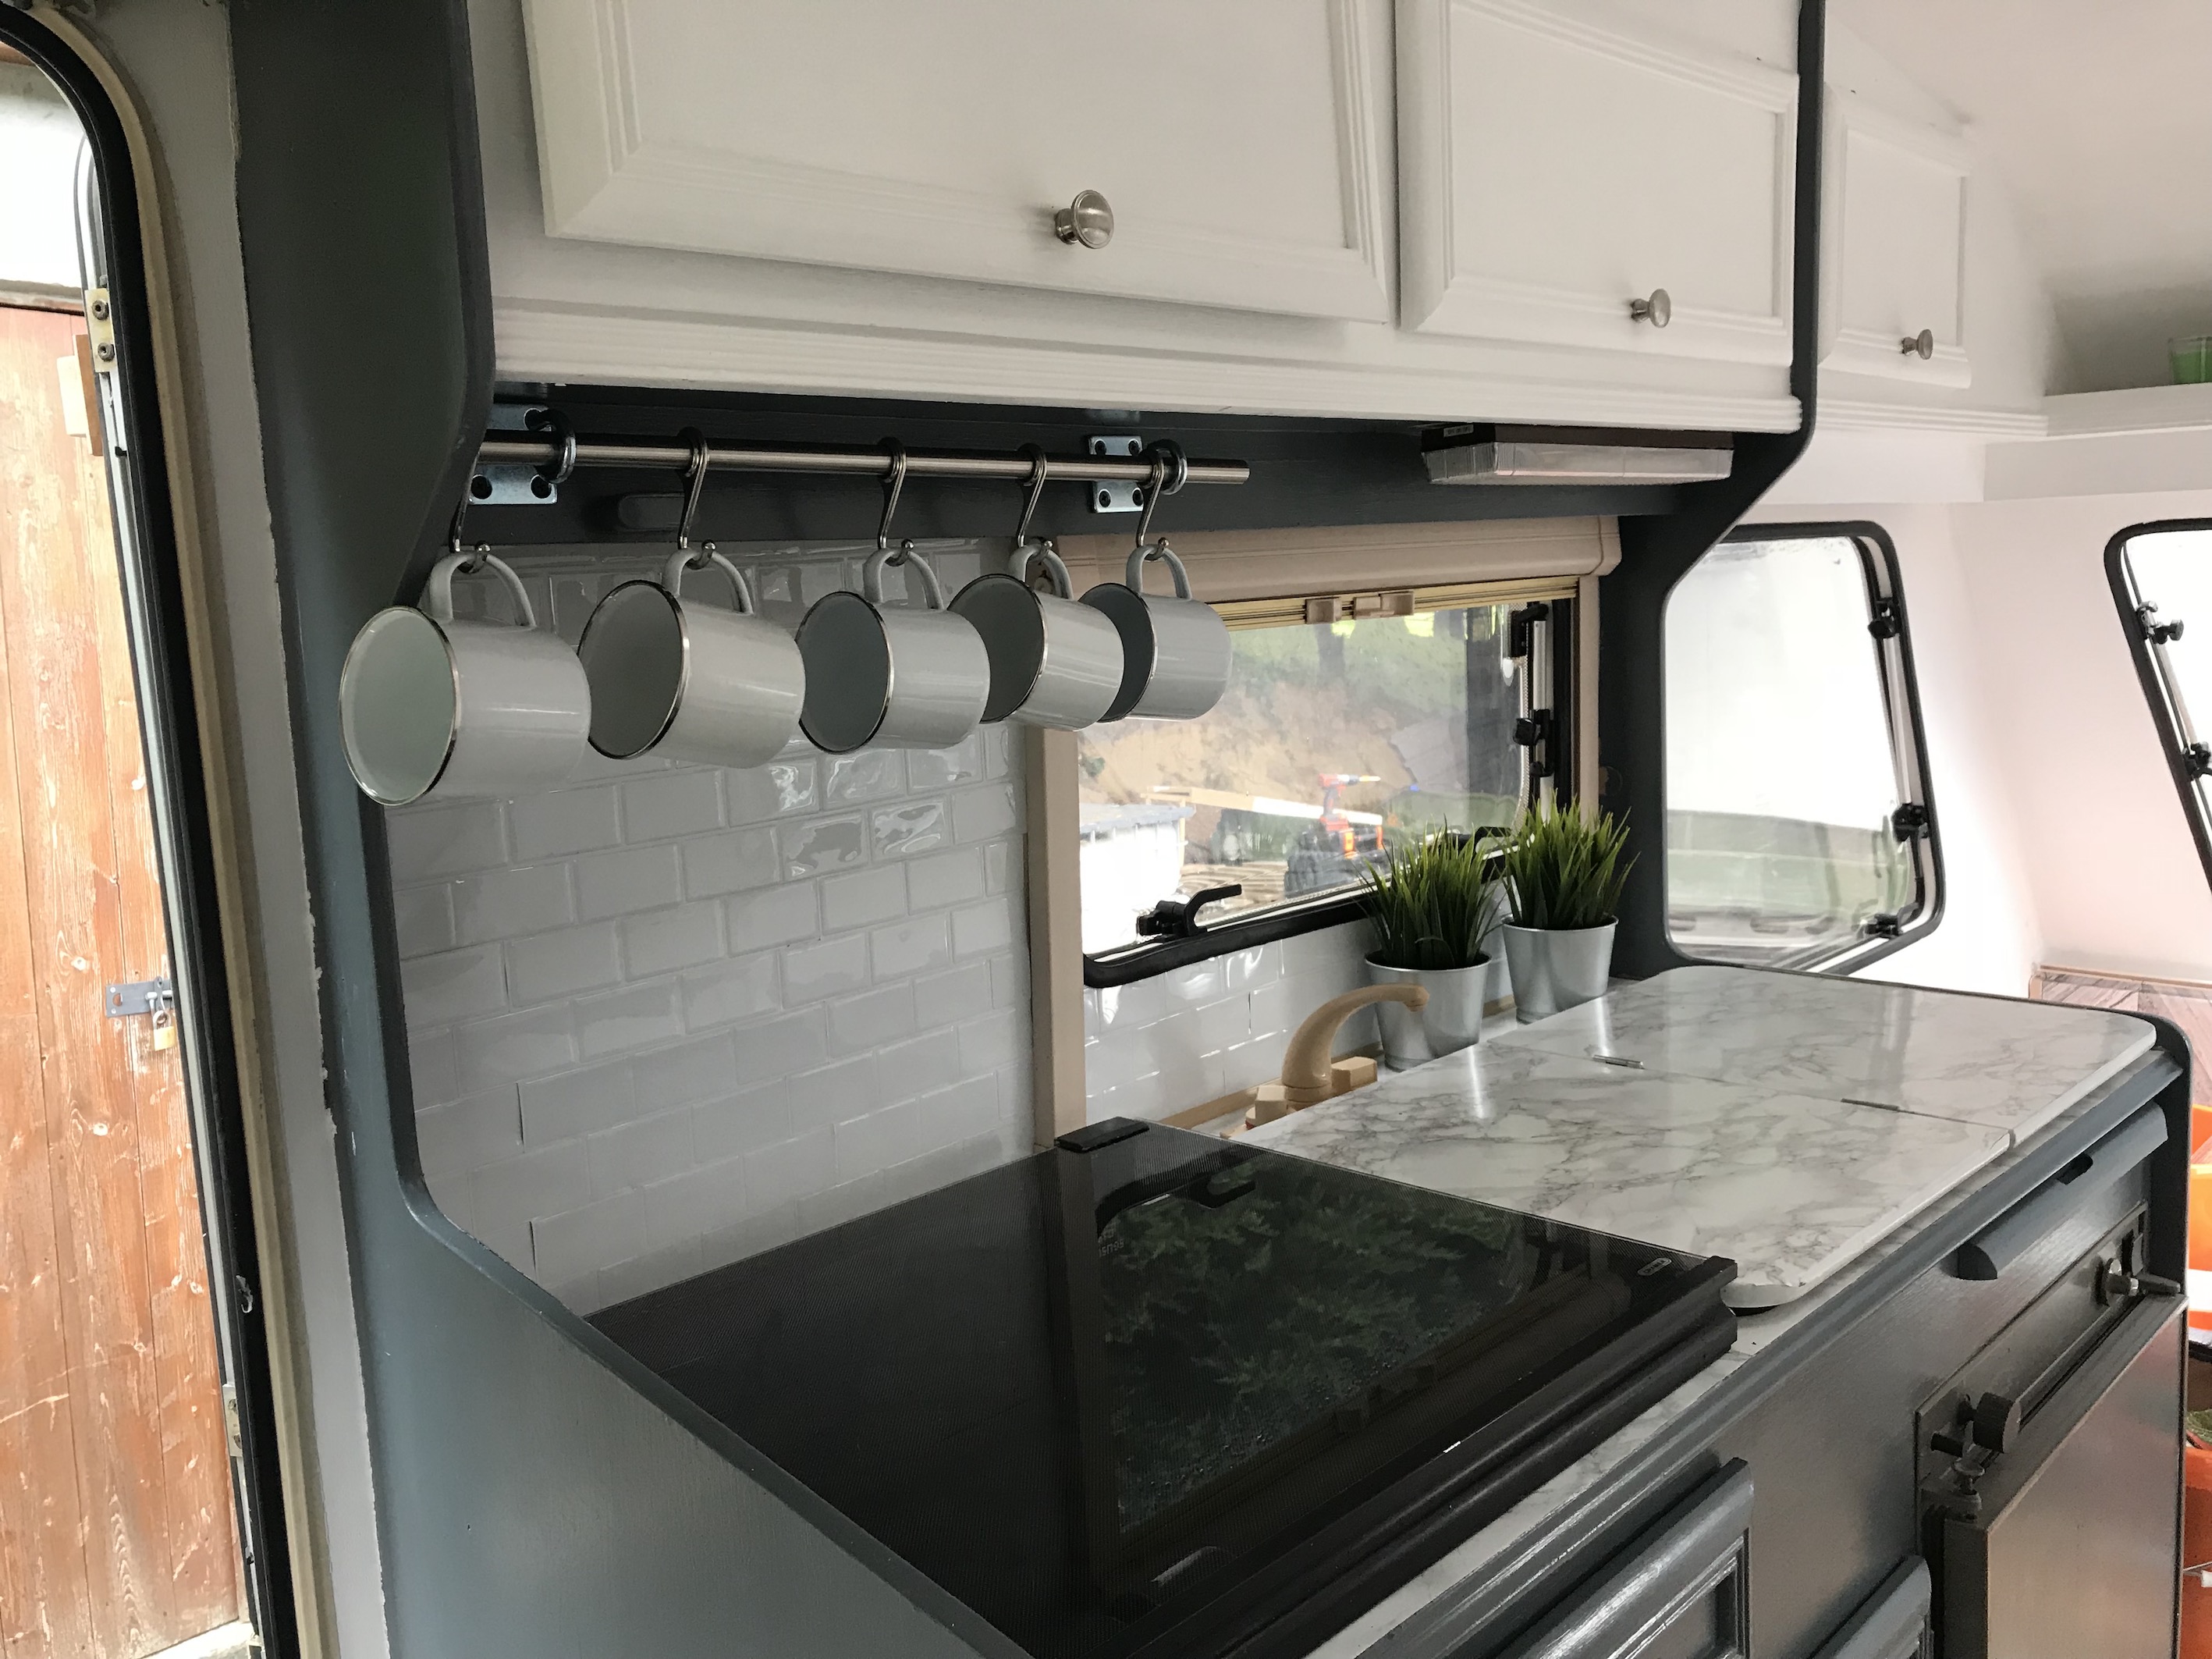
On the walls around the main sink and also around the bathroom sink we used simple sticker tiles. We got them on Ebay – here’s a similar style – CLICK HERE. But again you can search other styles and see what works for you.
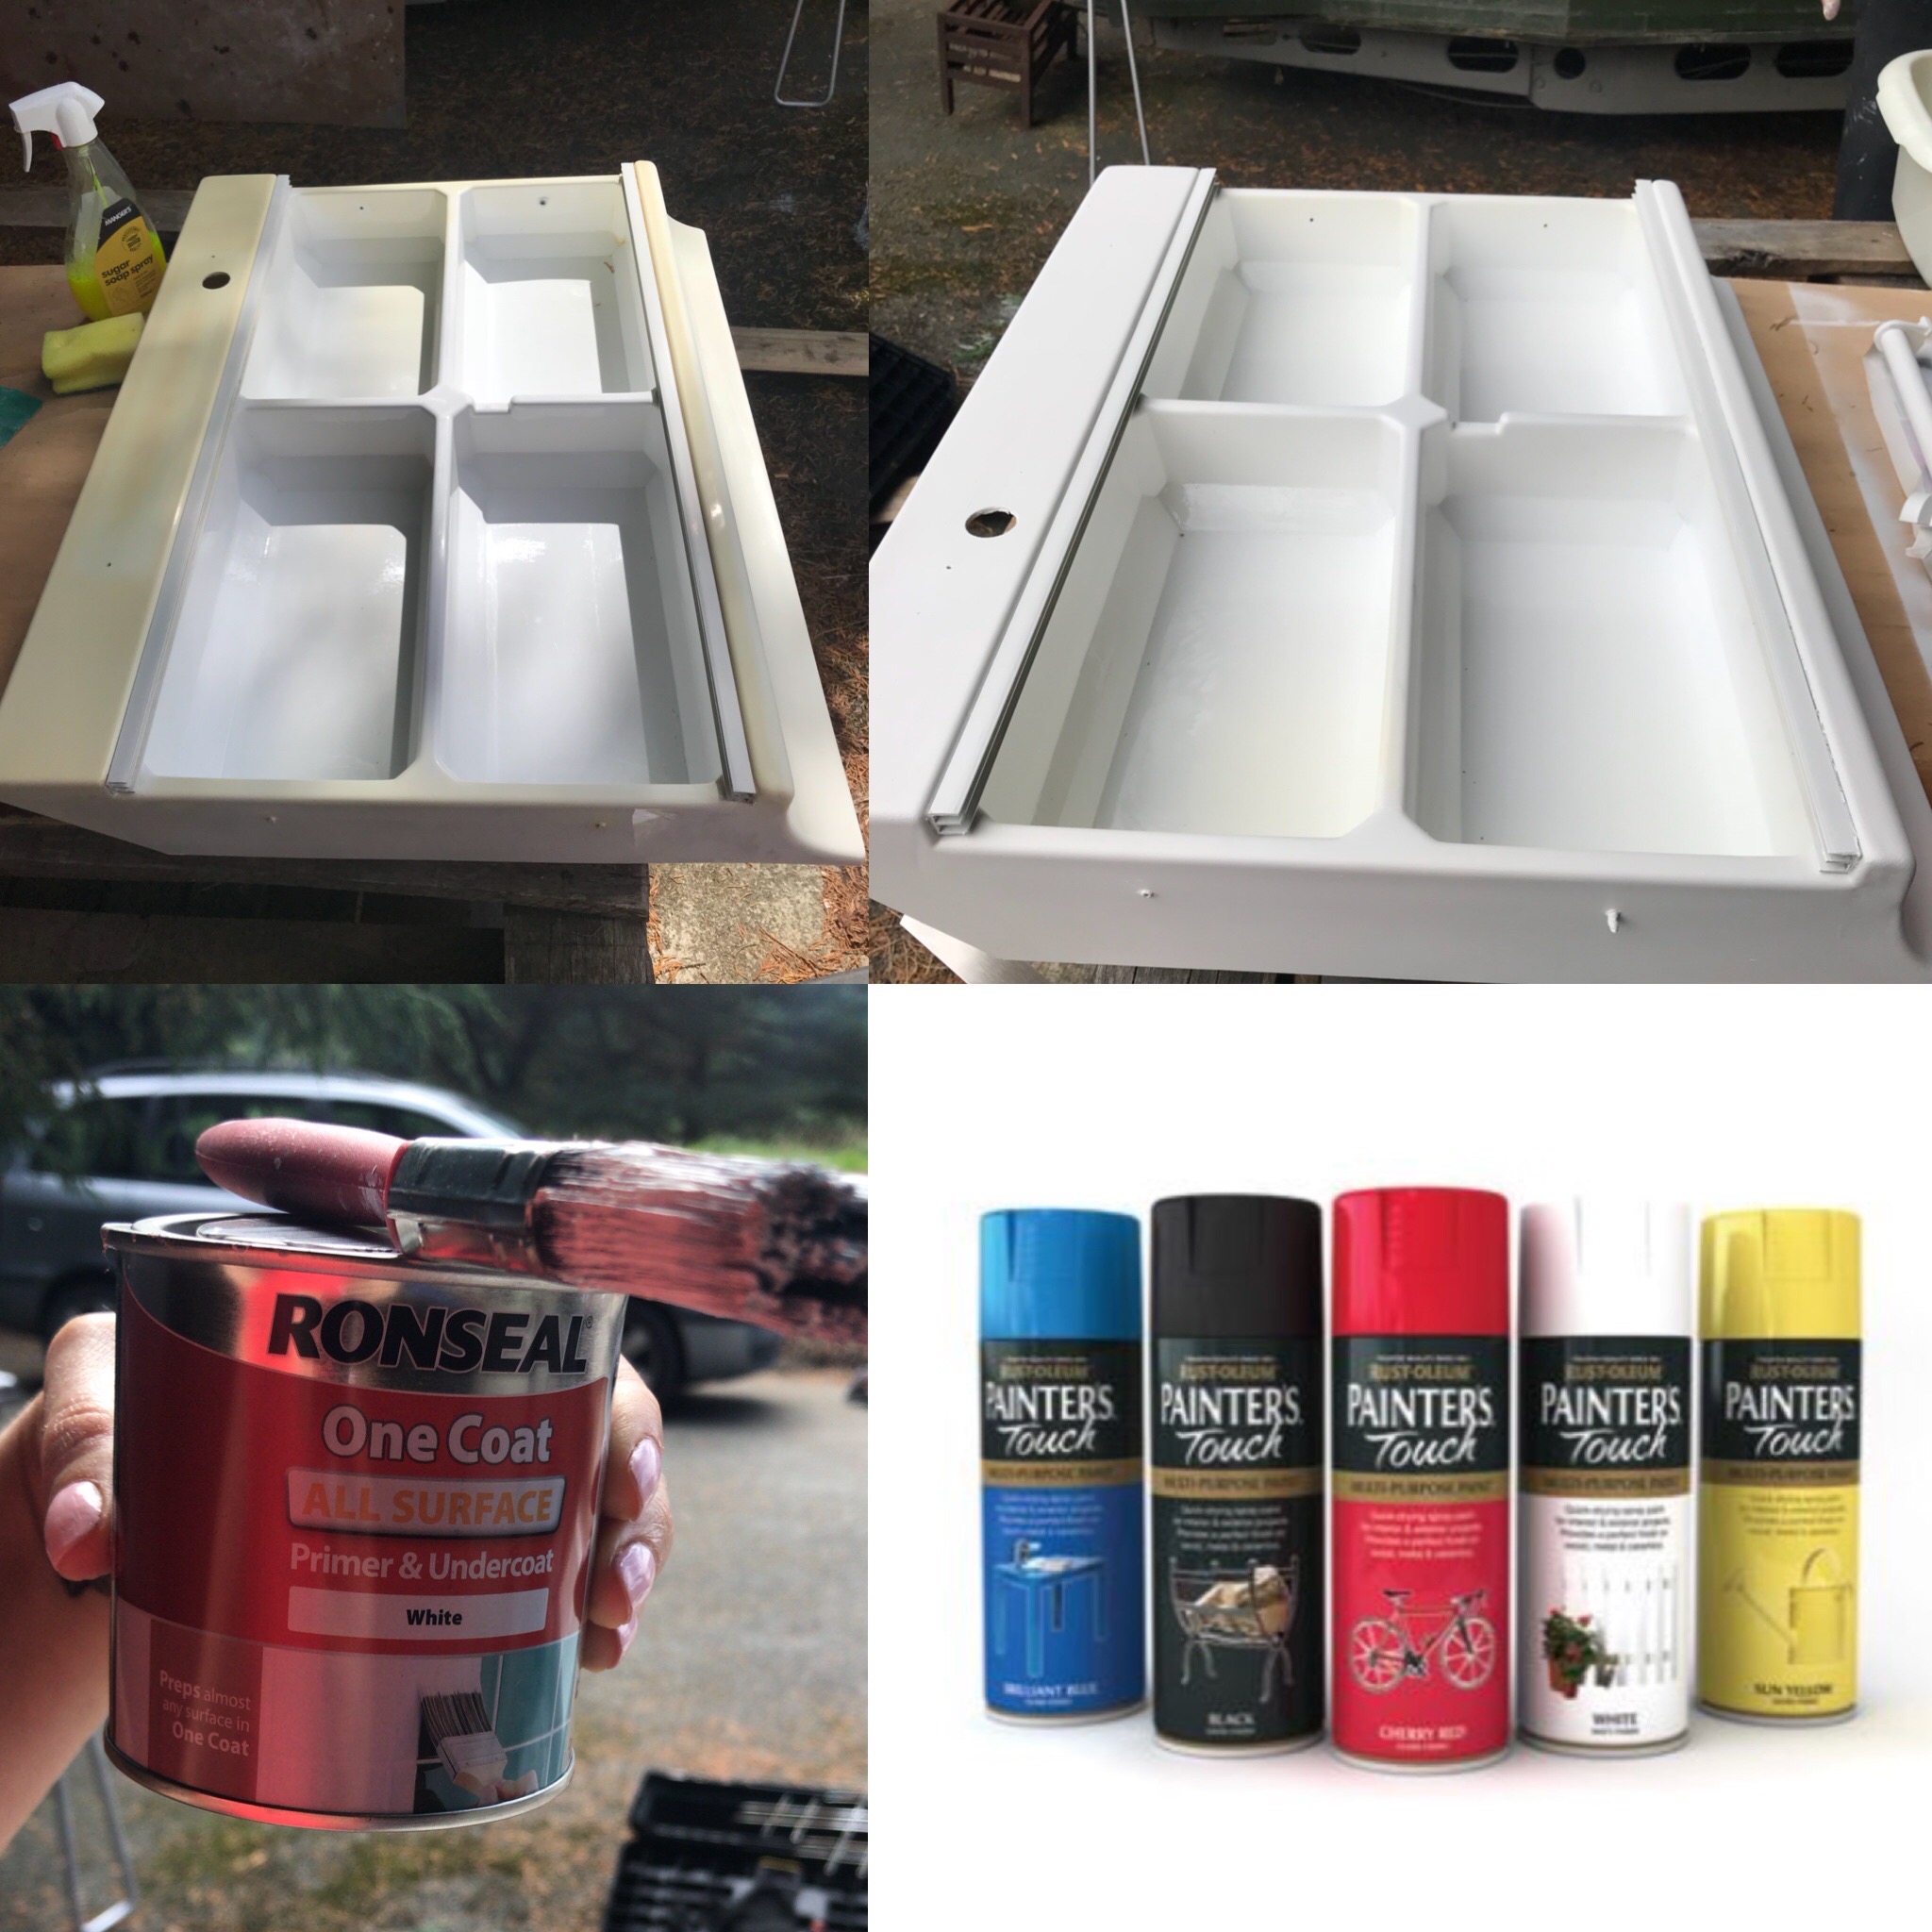
In the toilet – the only thing we really had to work to change (aside from adding the sticker tiles to the wall) was the bathroom cabinet. We again sugar scrubbed it, gave it a coat of primer and then spray painted it white. We used Ronseal All Surface Primer and then sprayed with Painters Touch spray paint.
Another little thing we did – was change the handles on all the presses. A simple touch that changed the look instantly. Before setting off on our first weekend away Dave spent time with the staff in Charles Camping to go through all the working parts of the caravan and picking up a few bits we would need. A water tank was a must, the toilet solution and we also got and fitted a new carbon monoxide and fire alarm. Any good camping store will be able to help you in this regard. Don’t be afraid to ask a professional to talk you through it all.
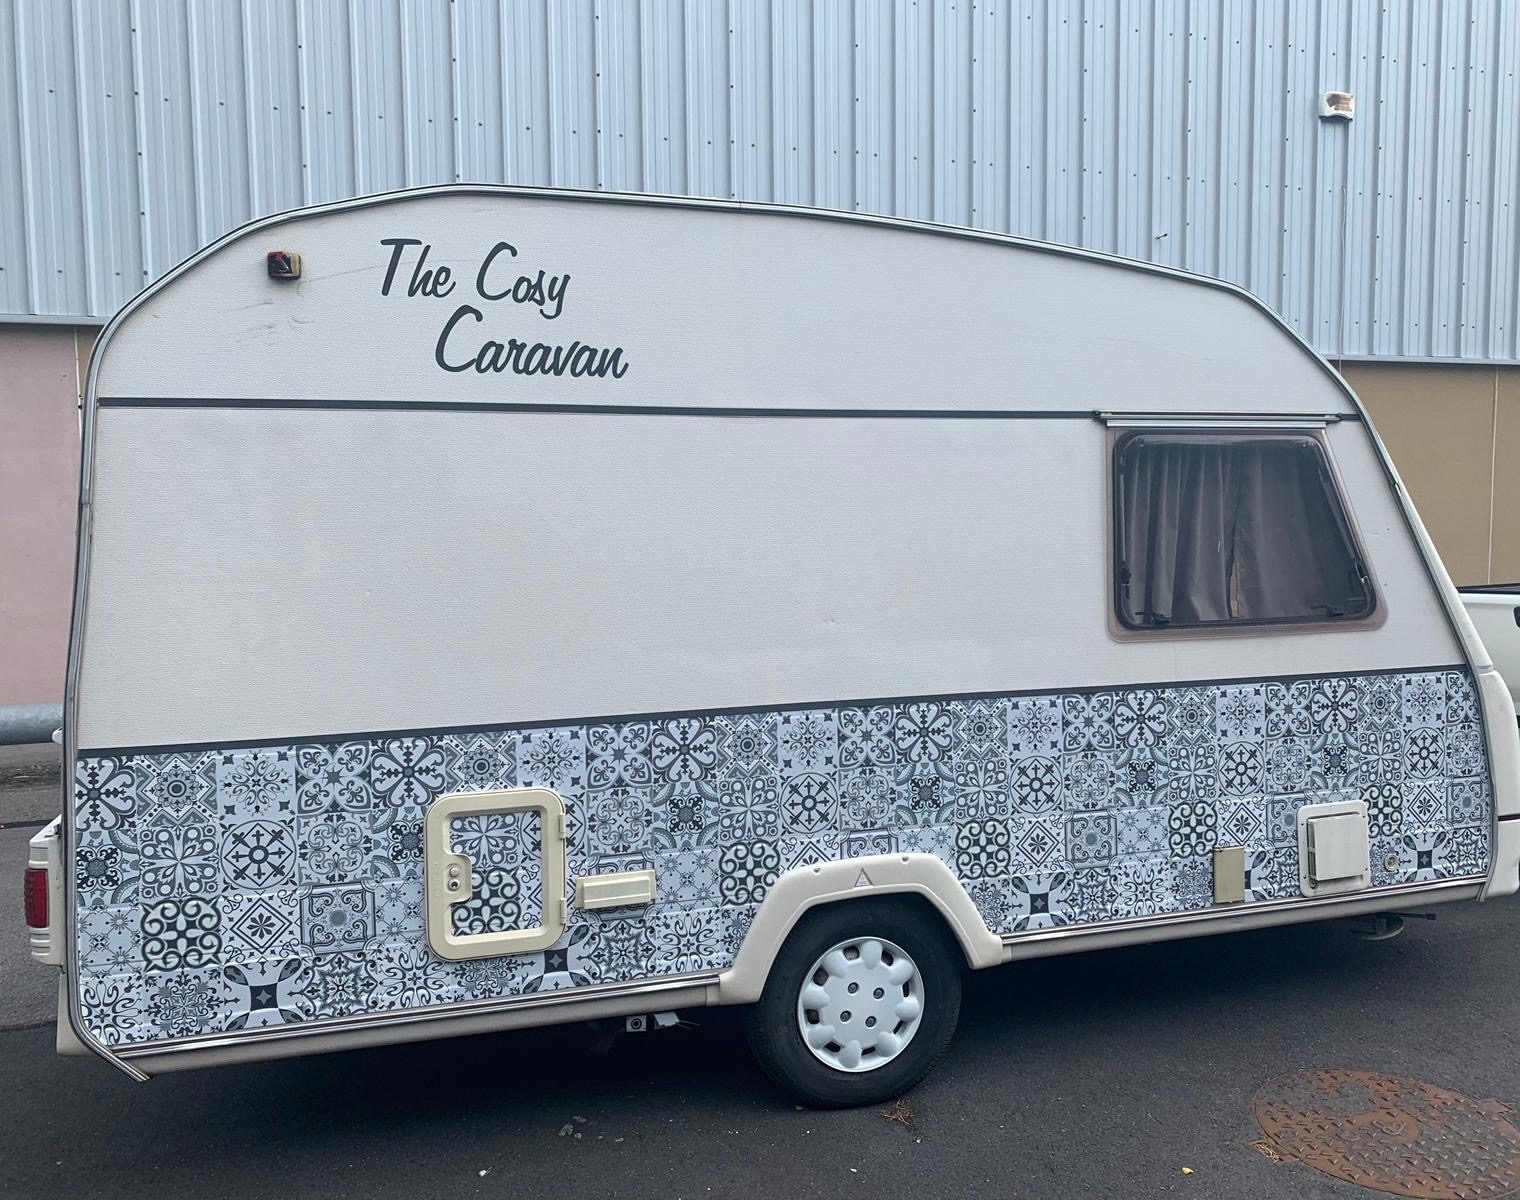
This year we invested a little in the exterior and had a simple design wrapped onto the caravan. We had this done at Glenn Trout Designs in Blanchardstown in Dublin. Prices vary depending on what you are looking for.
Since last year we have probably gone on 6-8 camping trips which has been absolutely amazing. We have paid between €15-€25 per night where we had access to electricity. Most have been seaside locations so the price for a weekend when compared to hotel accommodation has been a big saver. It’s definitely seasonal and most campsites close from October for the winter months. The great thing for us also is that we can bring the dogs – Toby and Ben – with us. Most campsites allow pets so long as they are on a leash. It was honestly the best investment we ever made. I can’t wait for next season to make even more memories.
Here are some of the “Before” and “After” pictures!
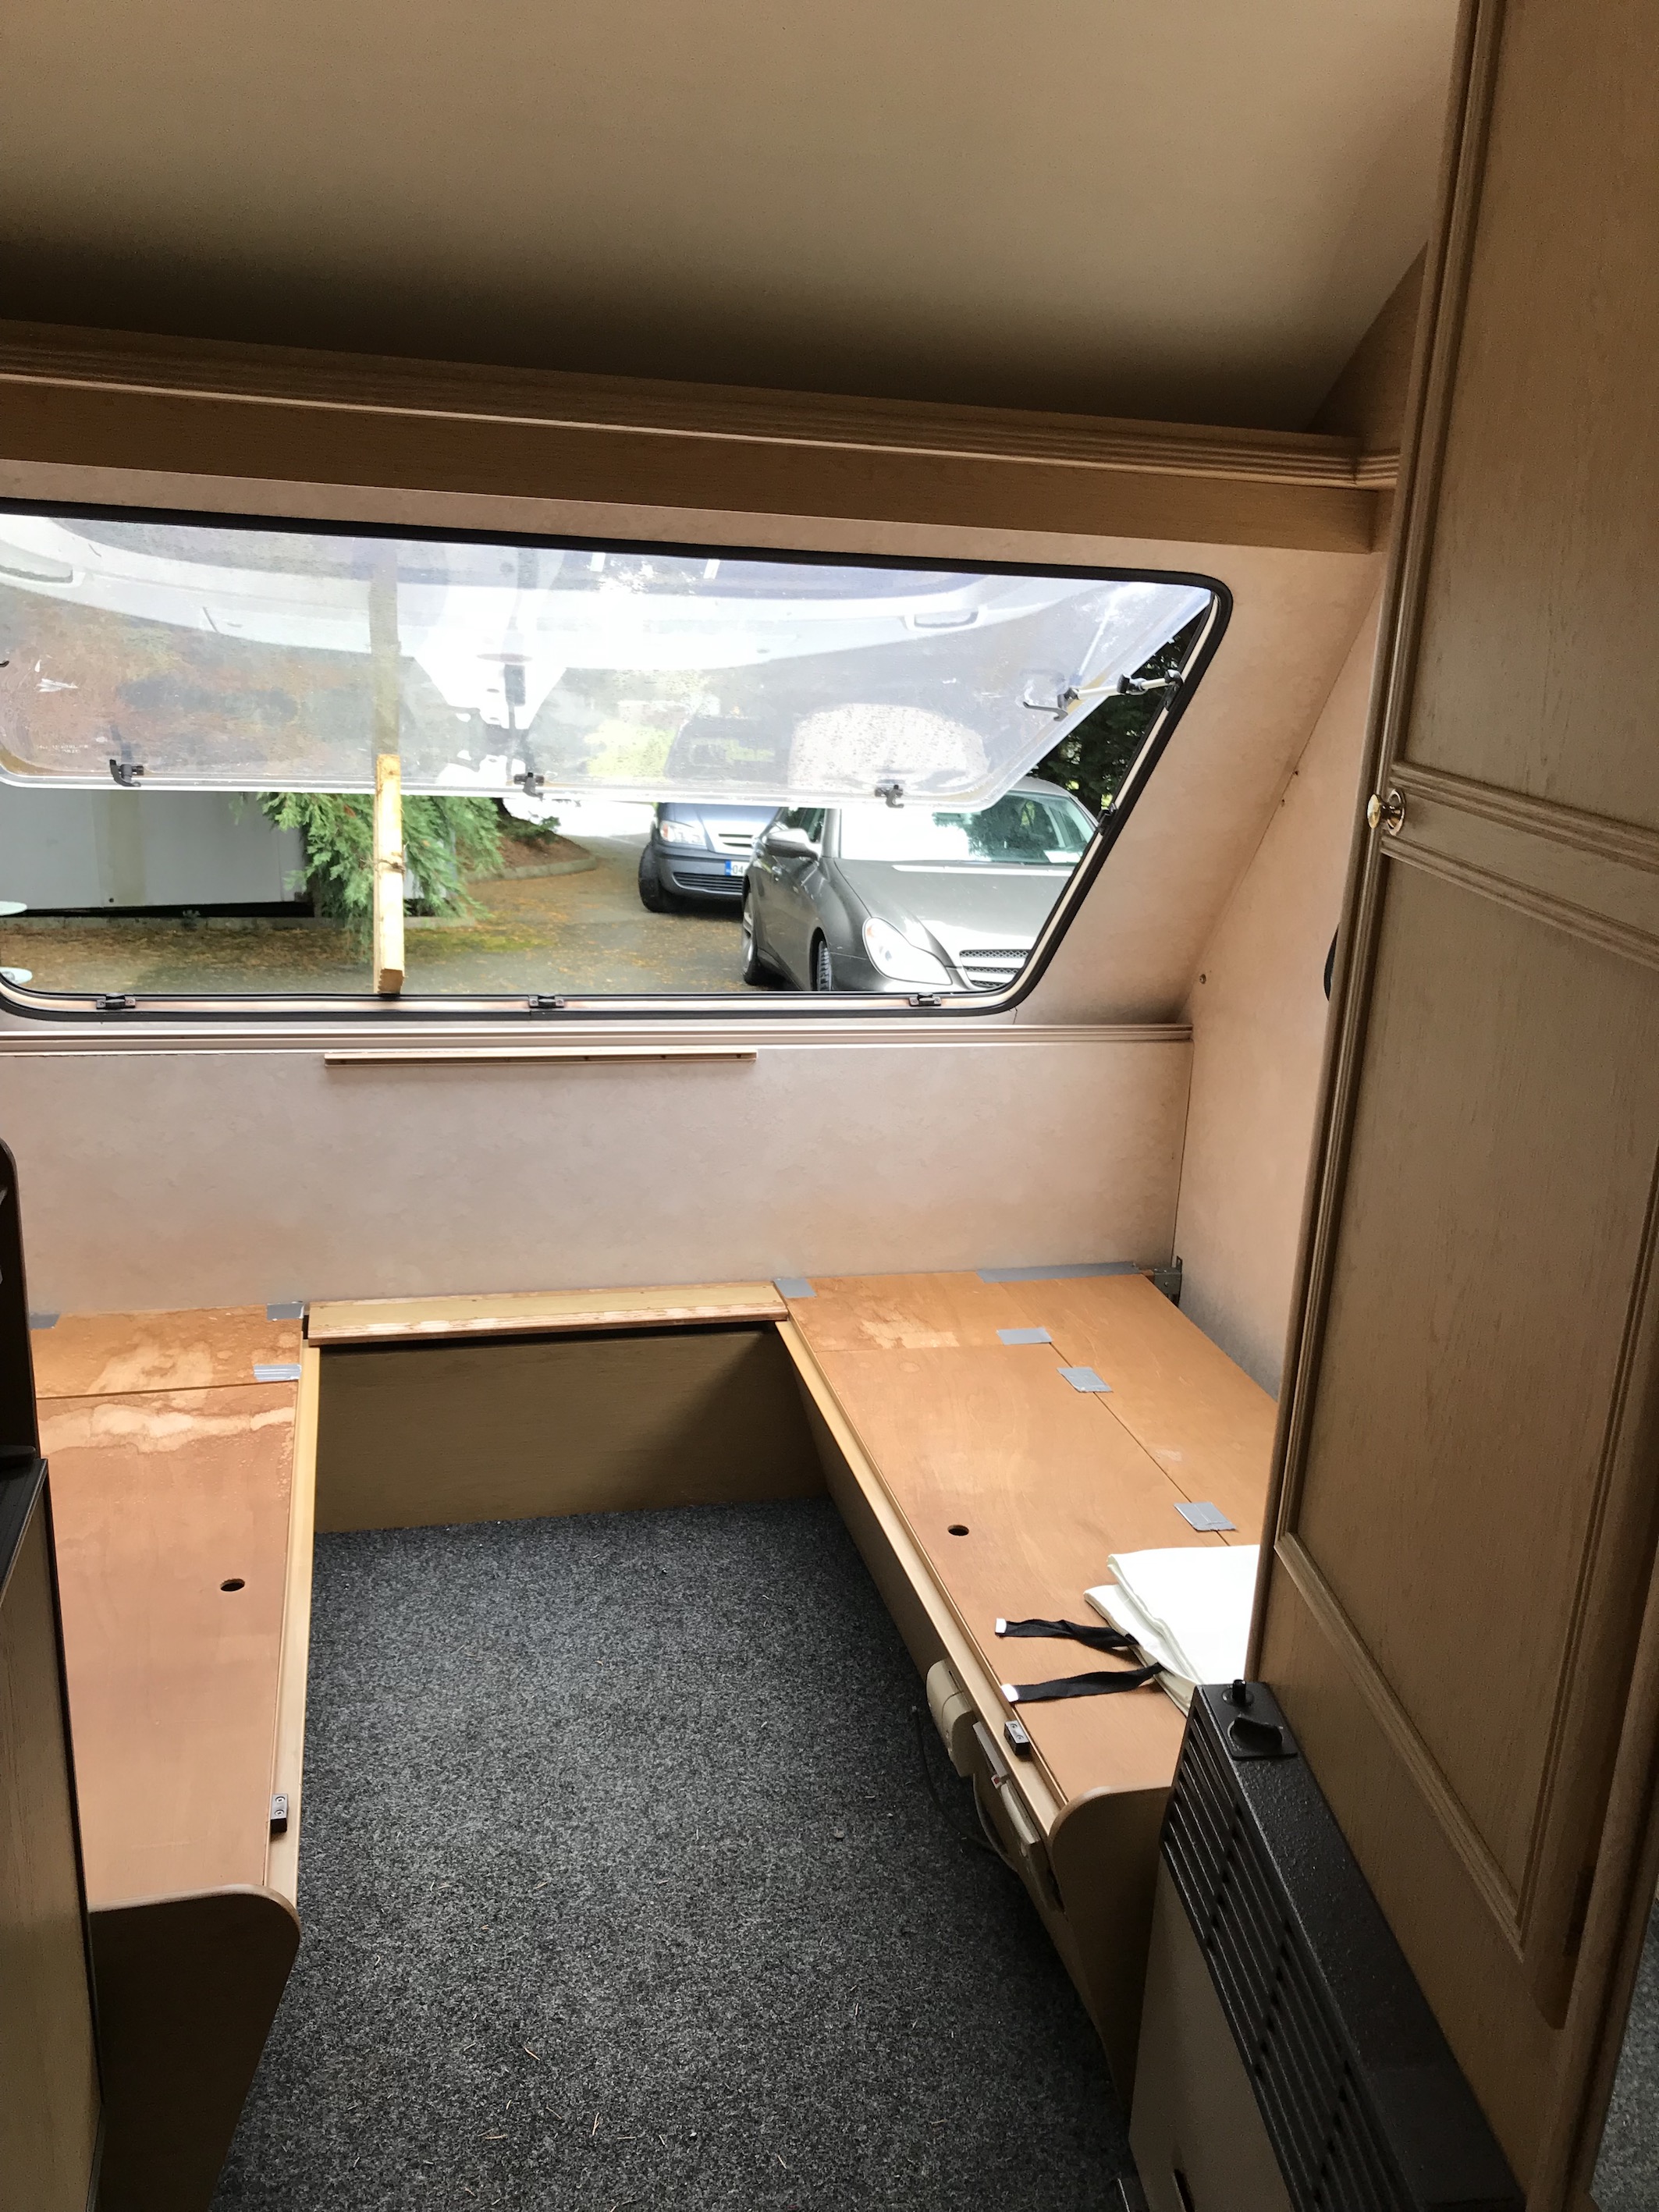
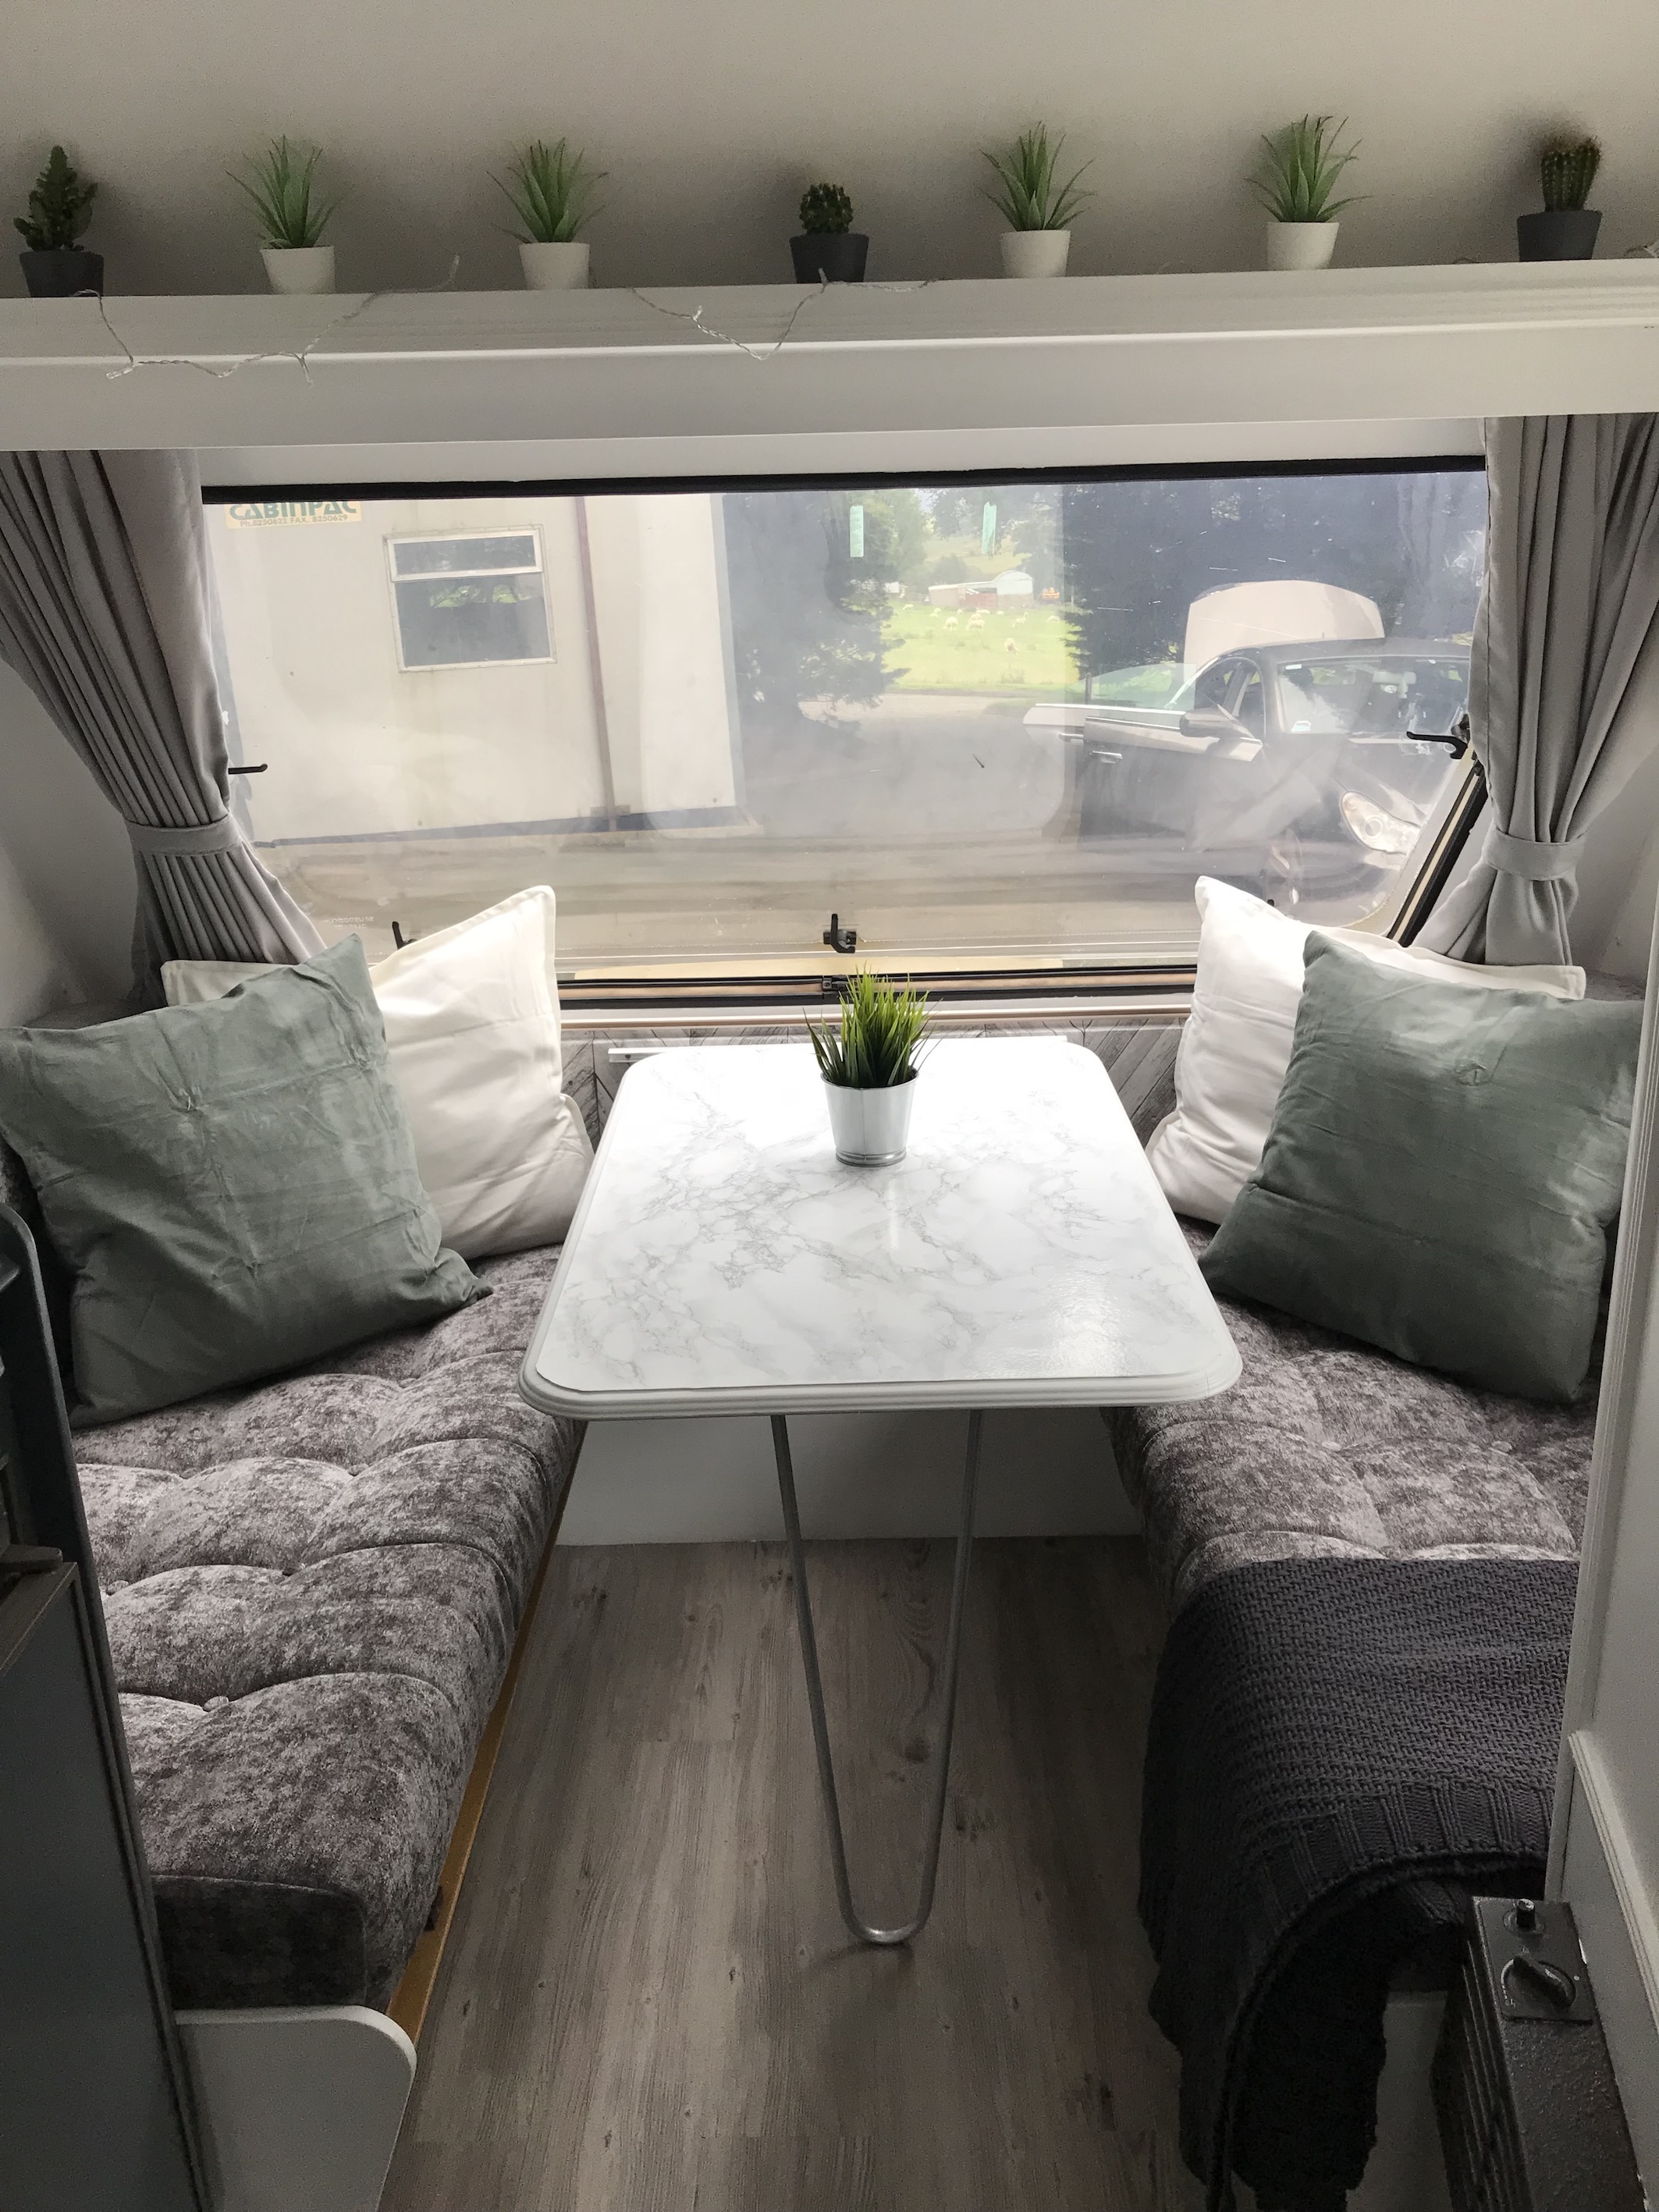
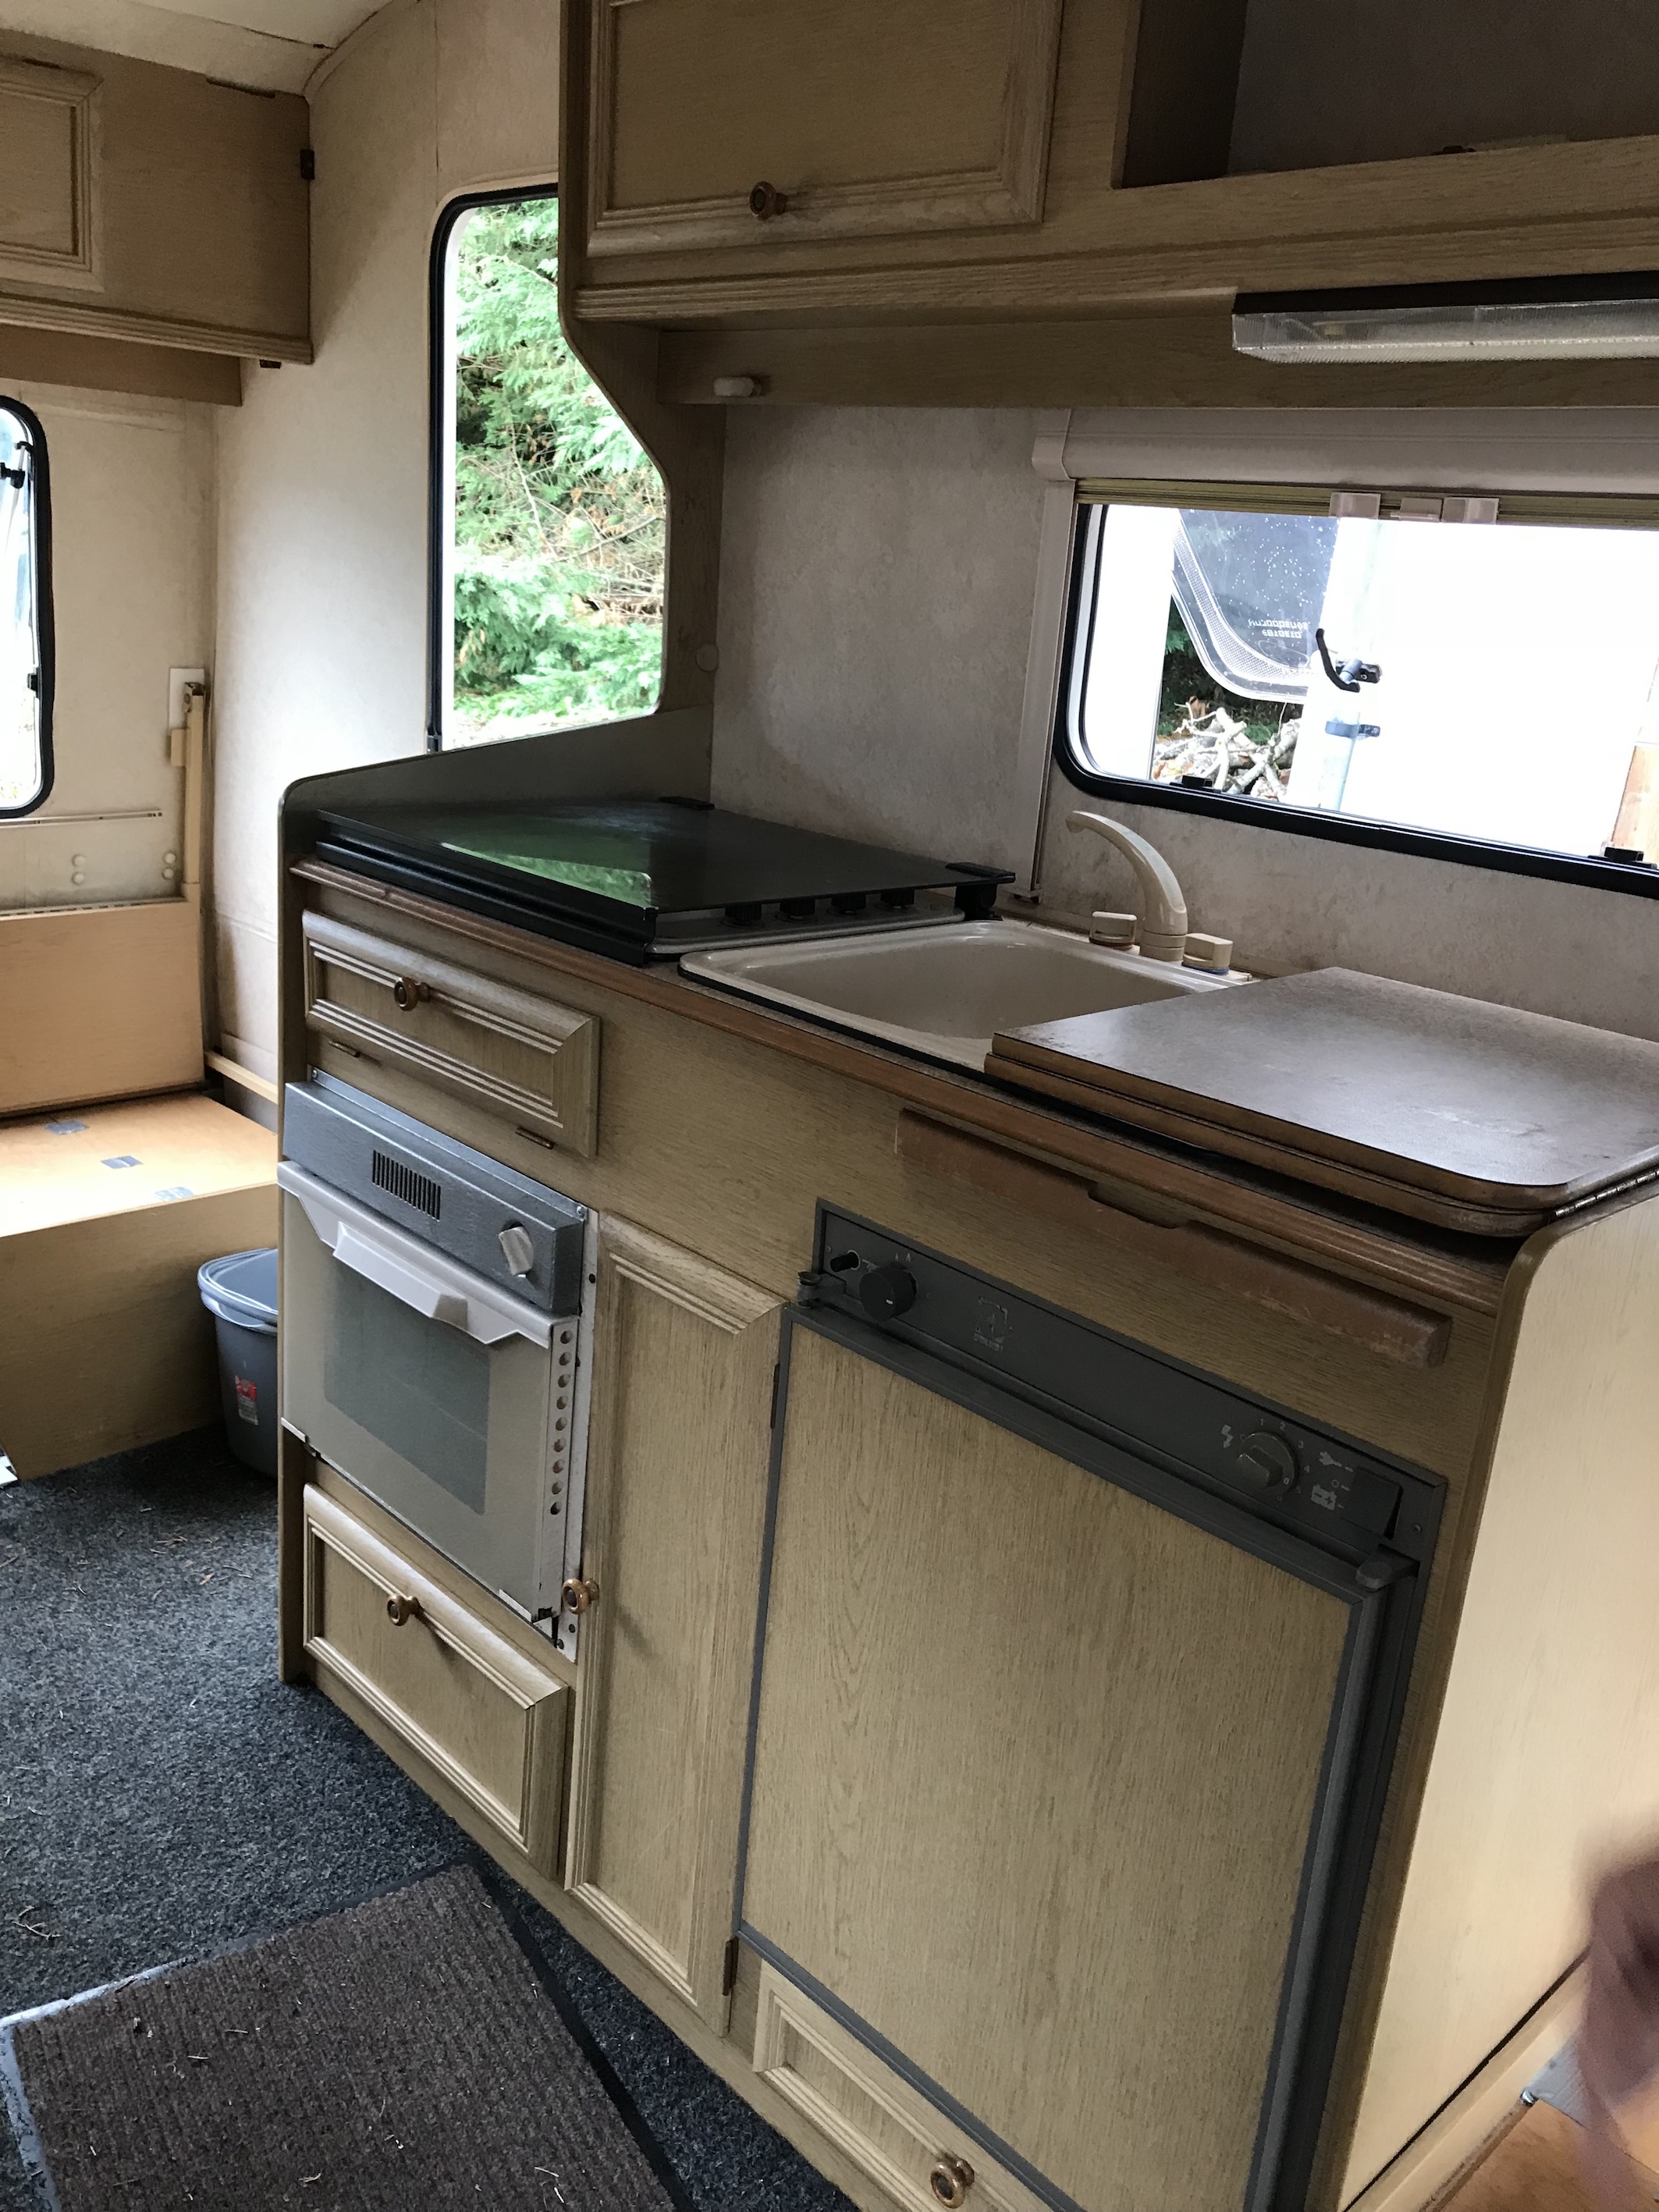
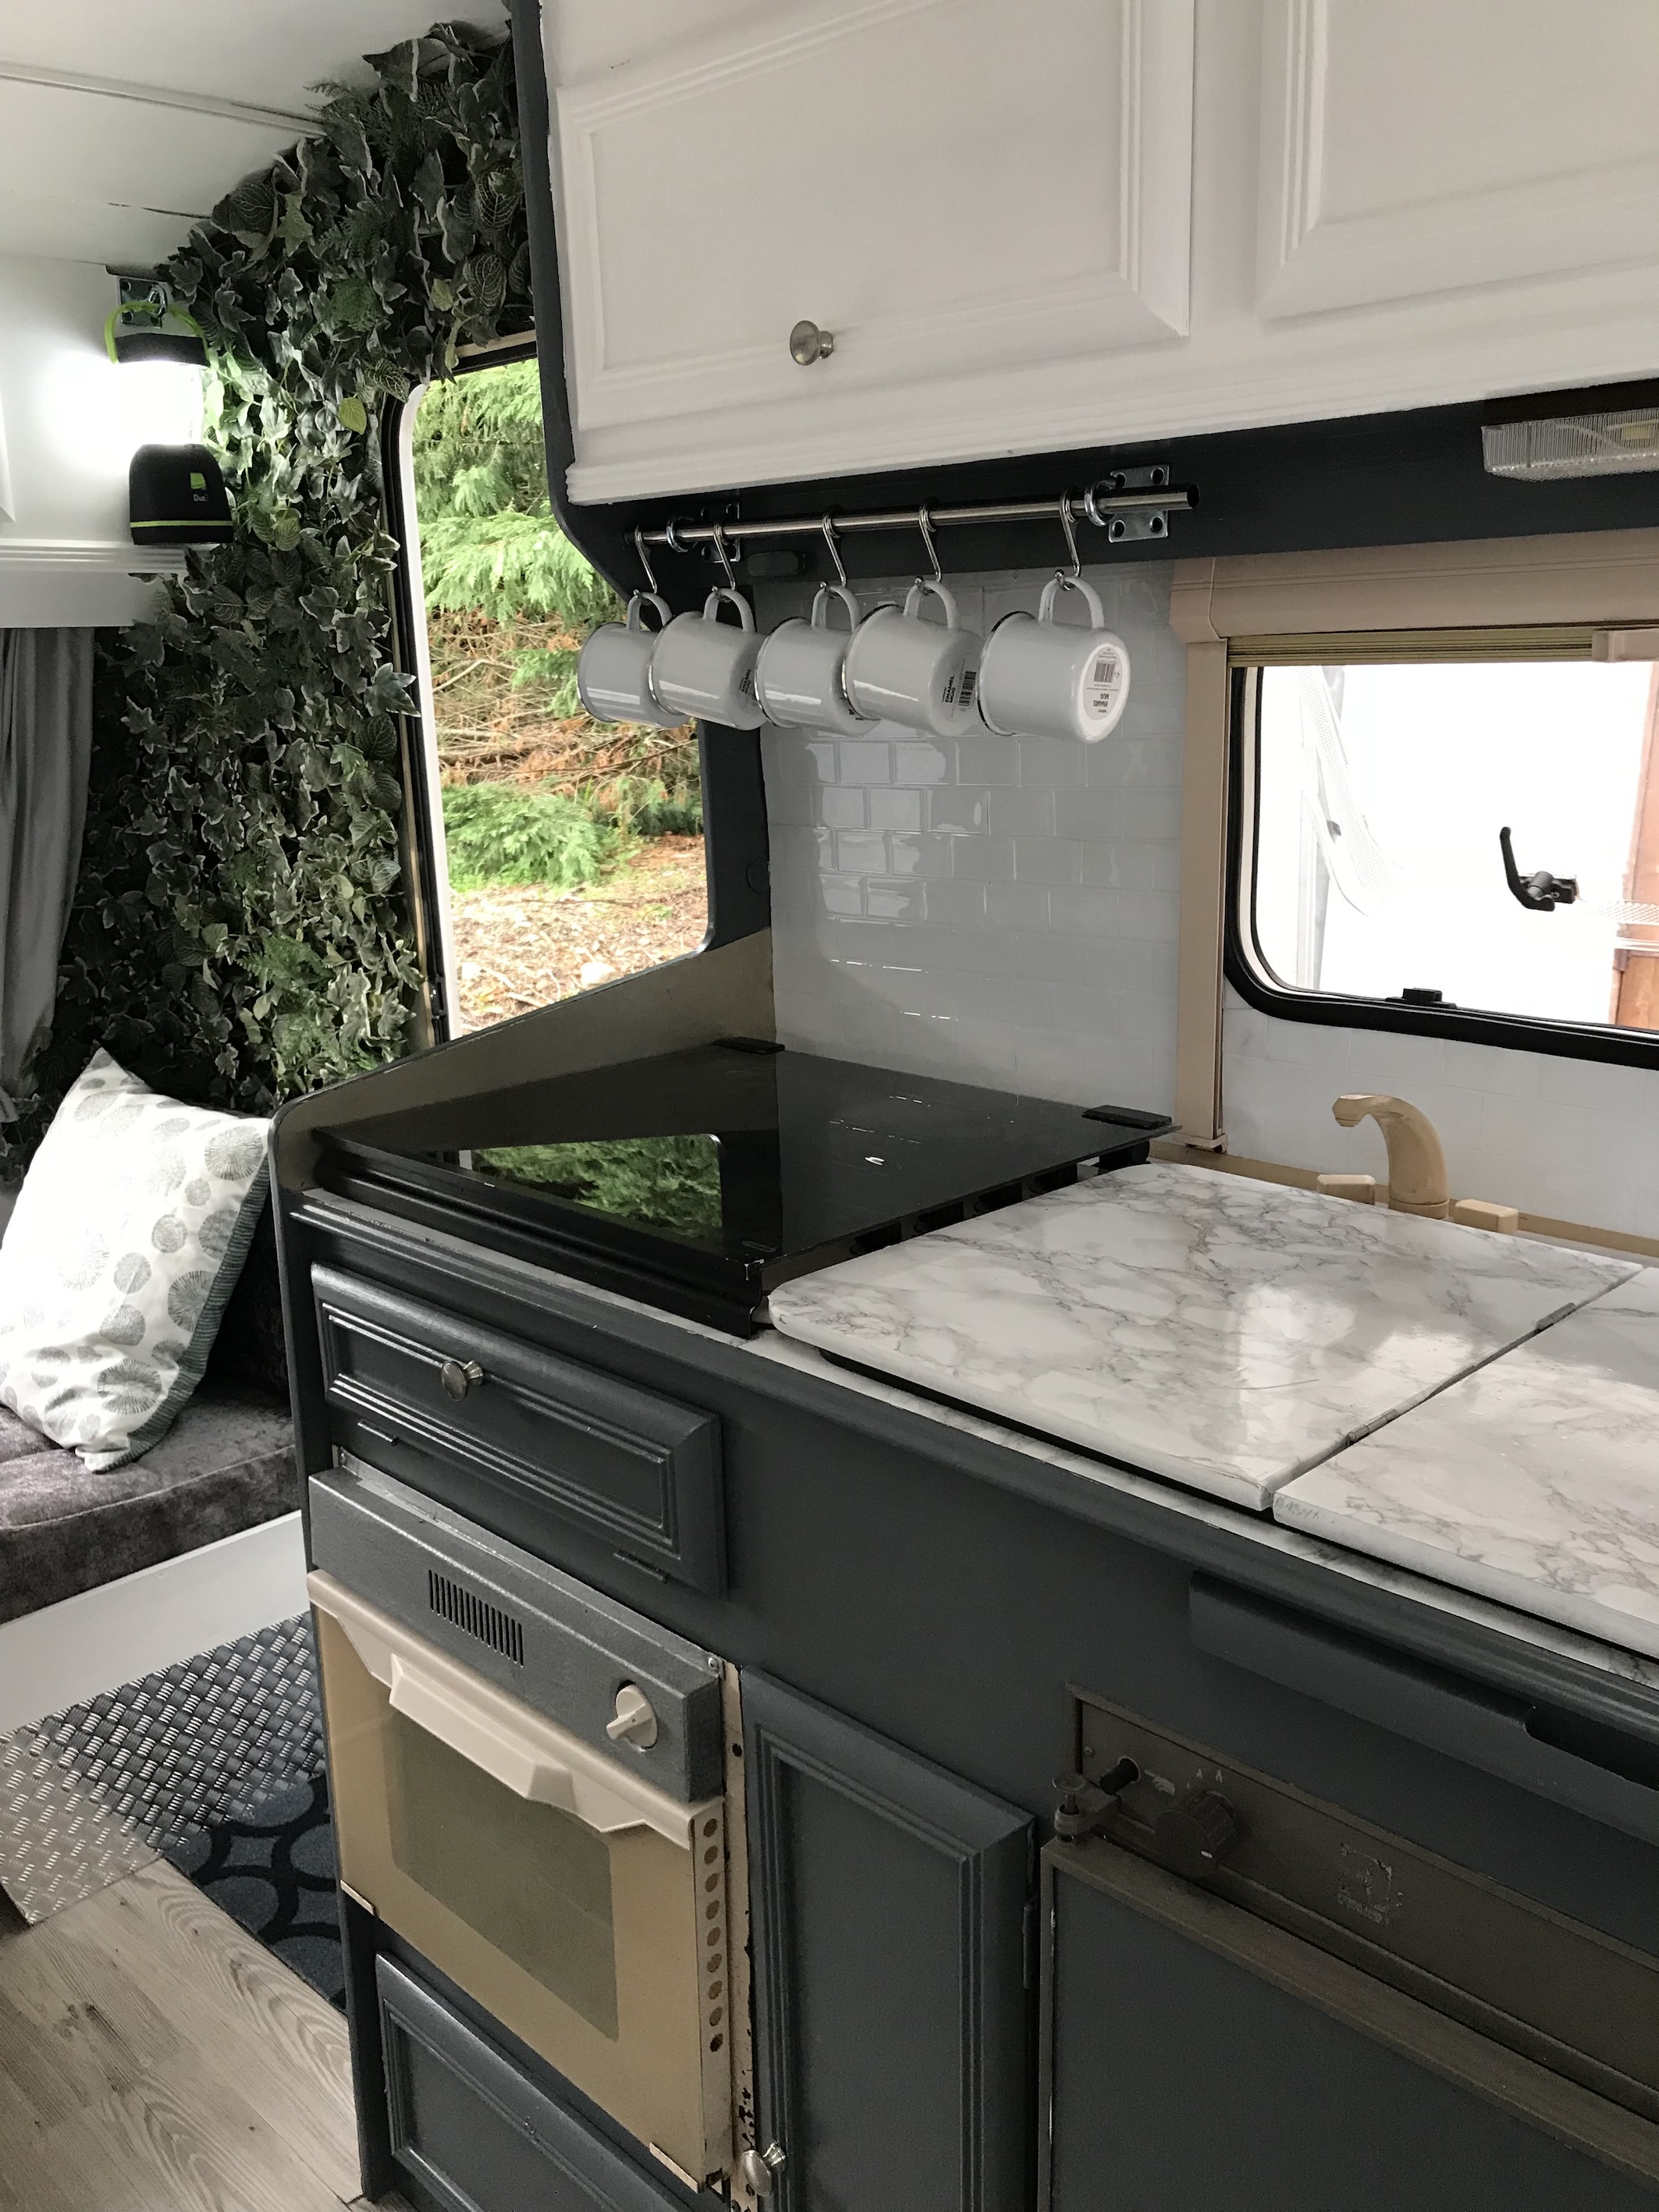
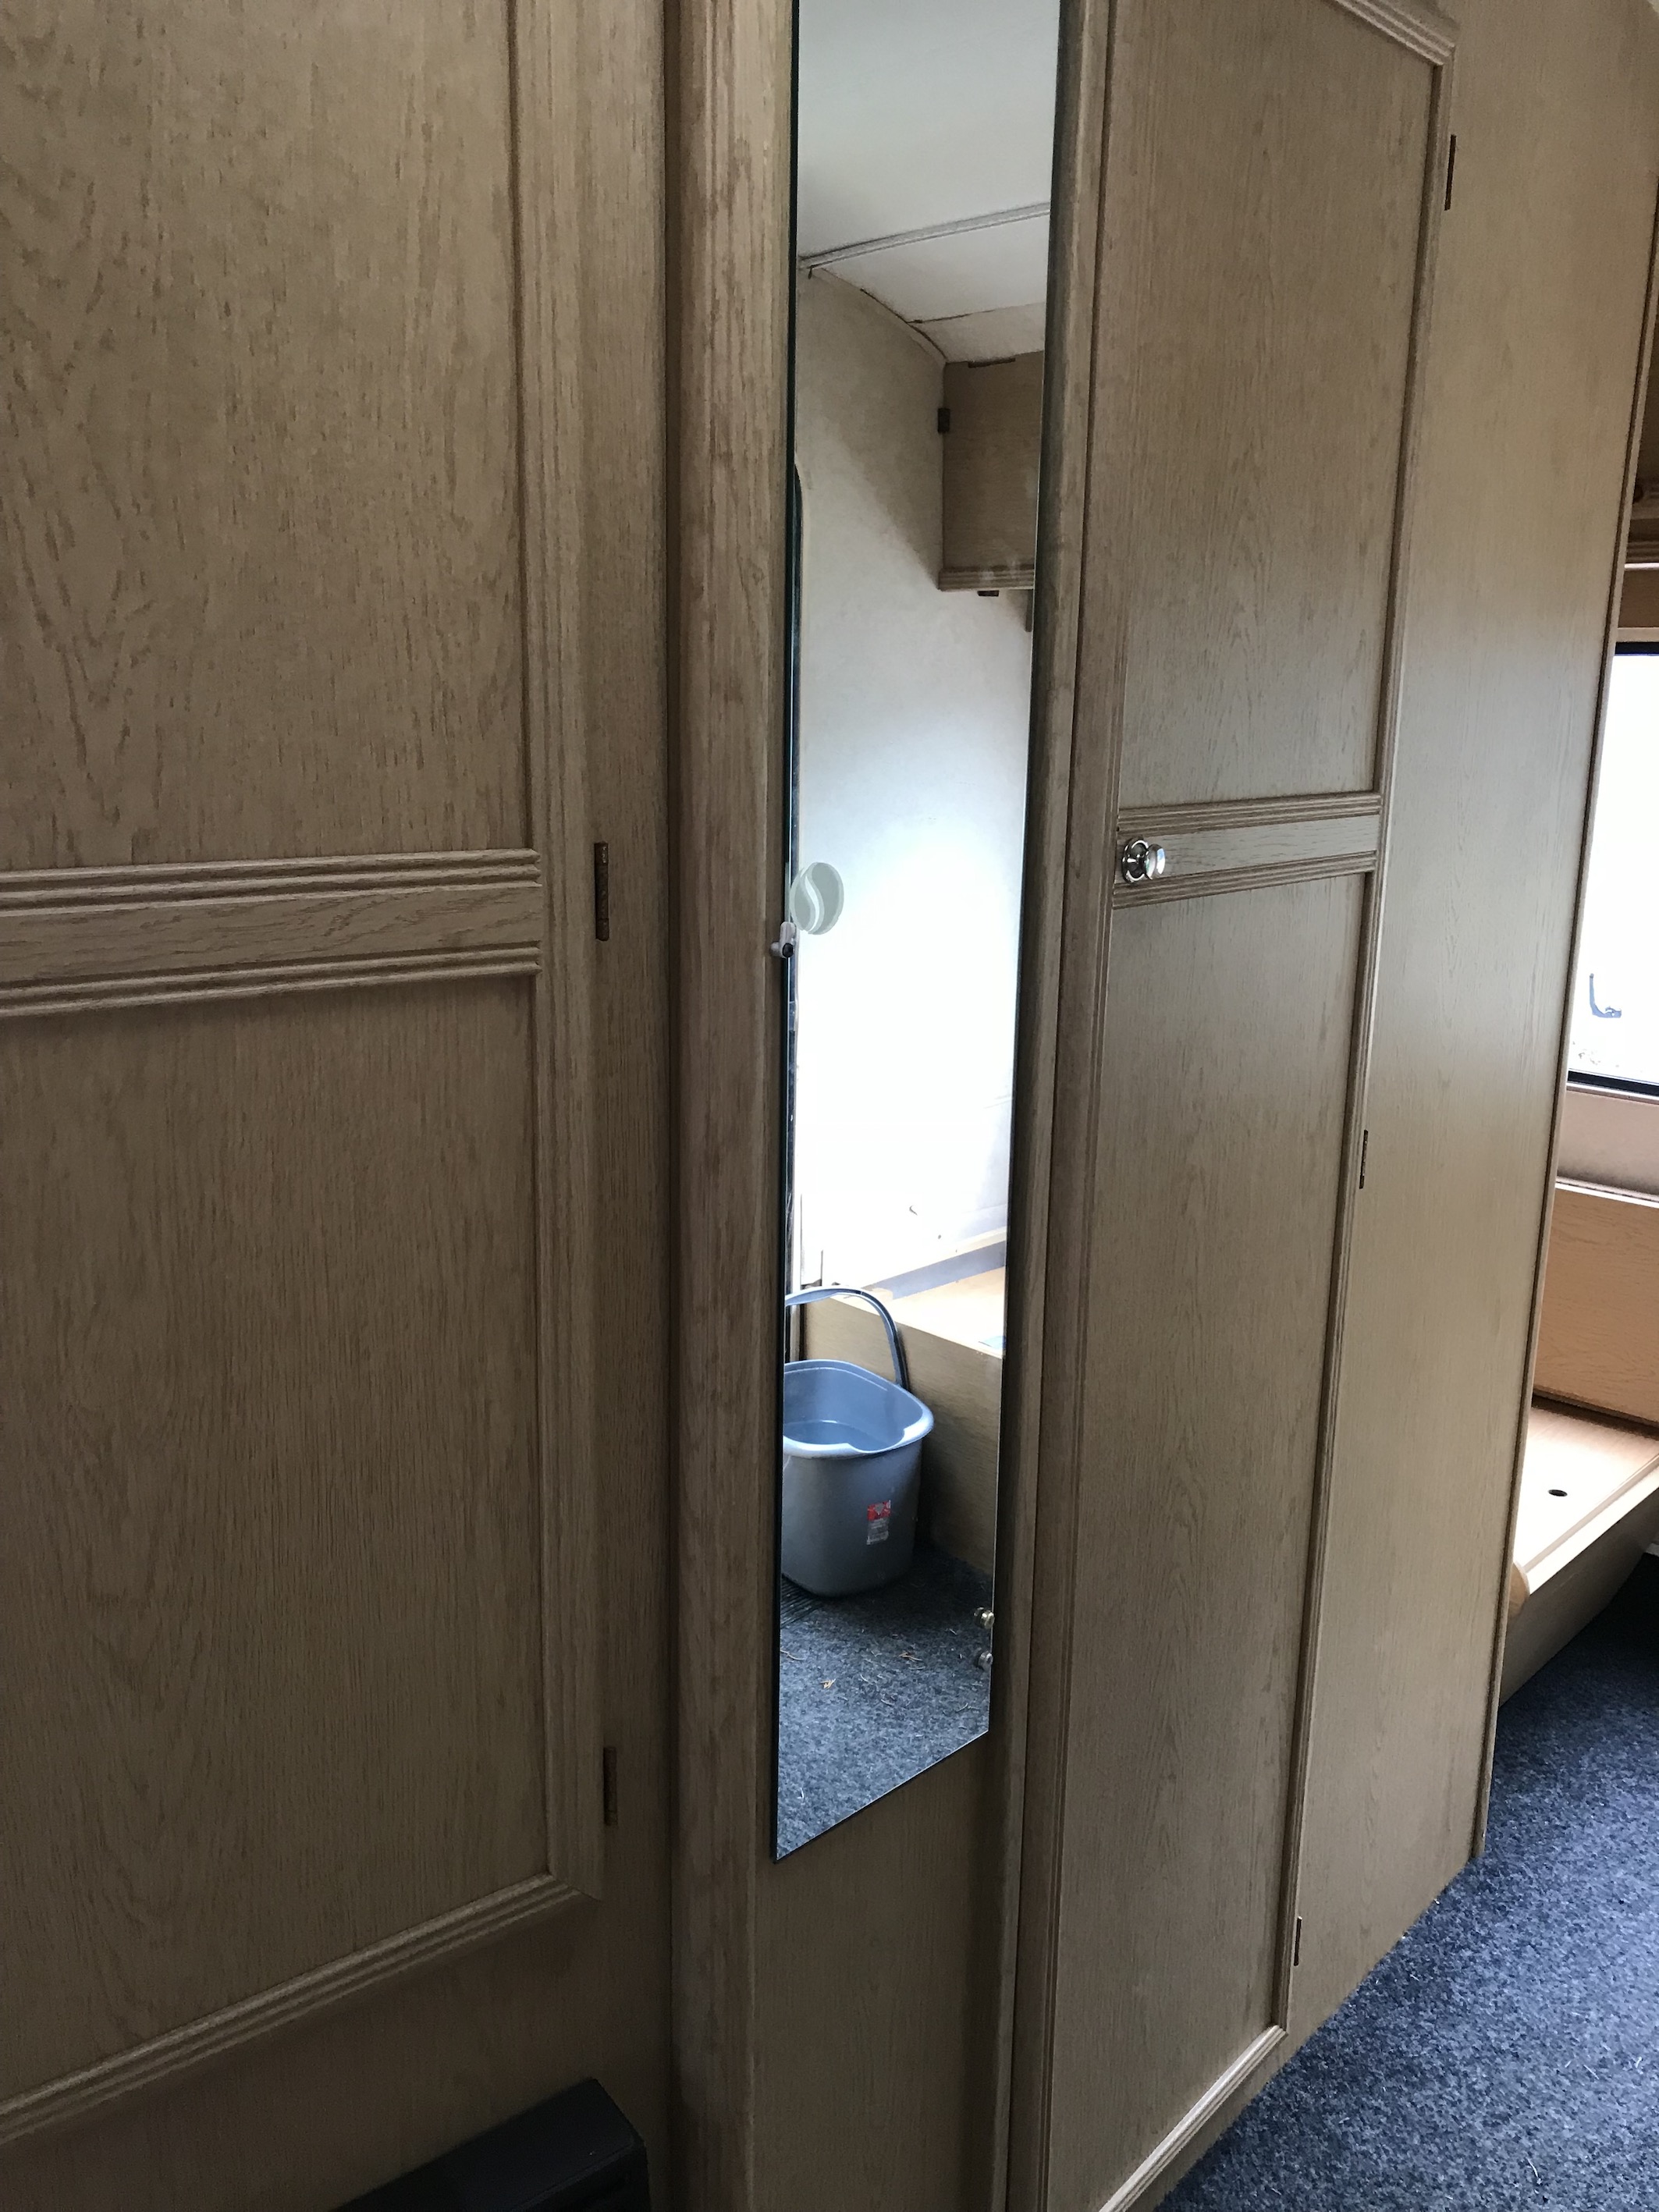

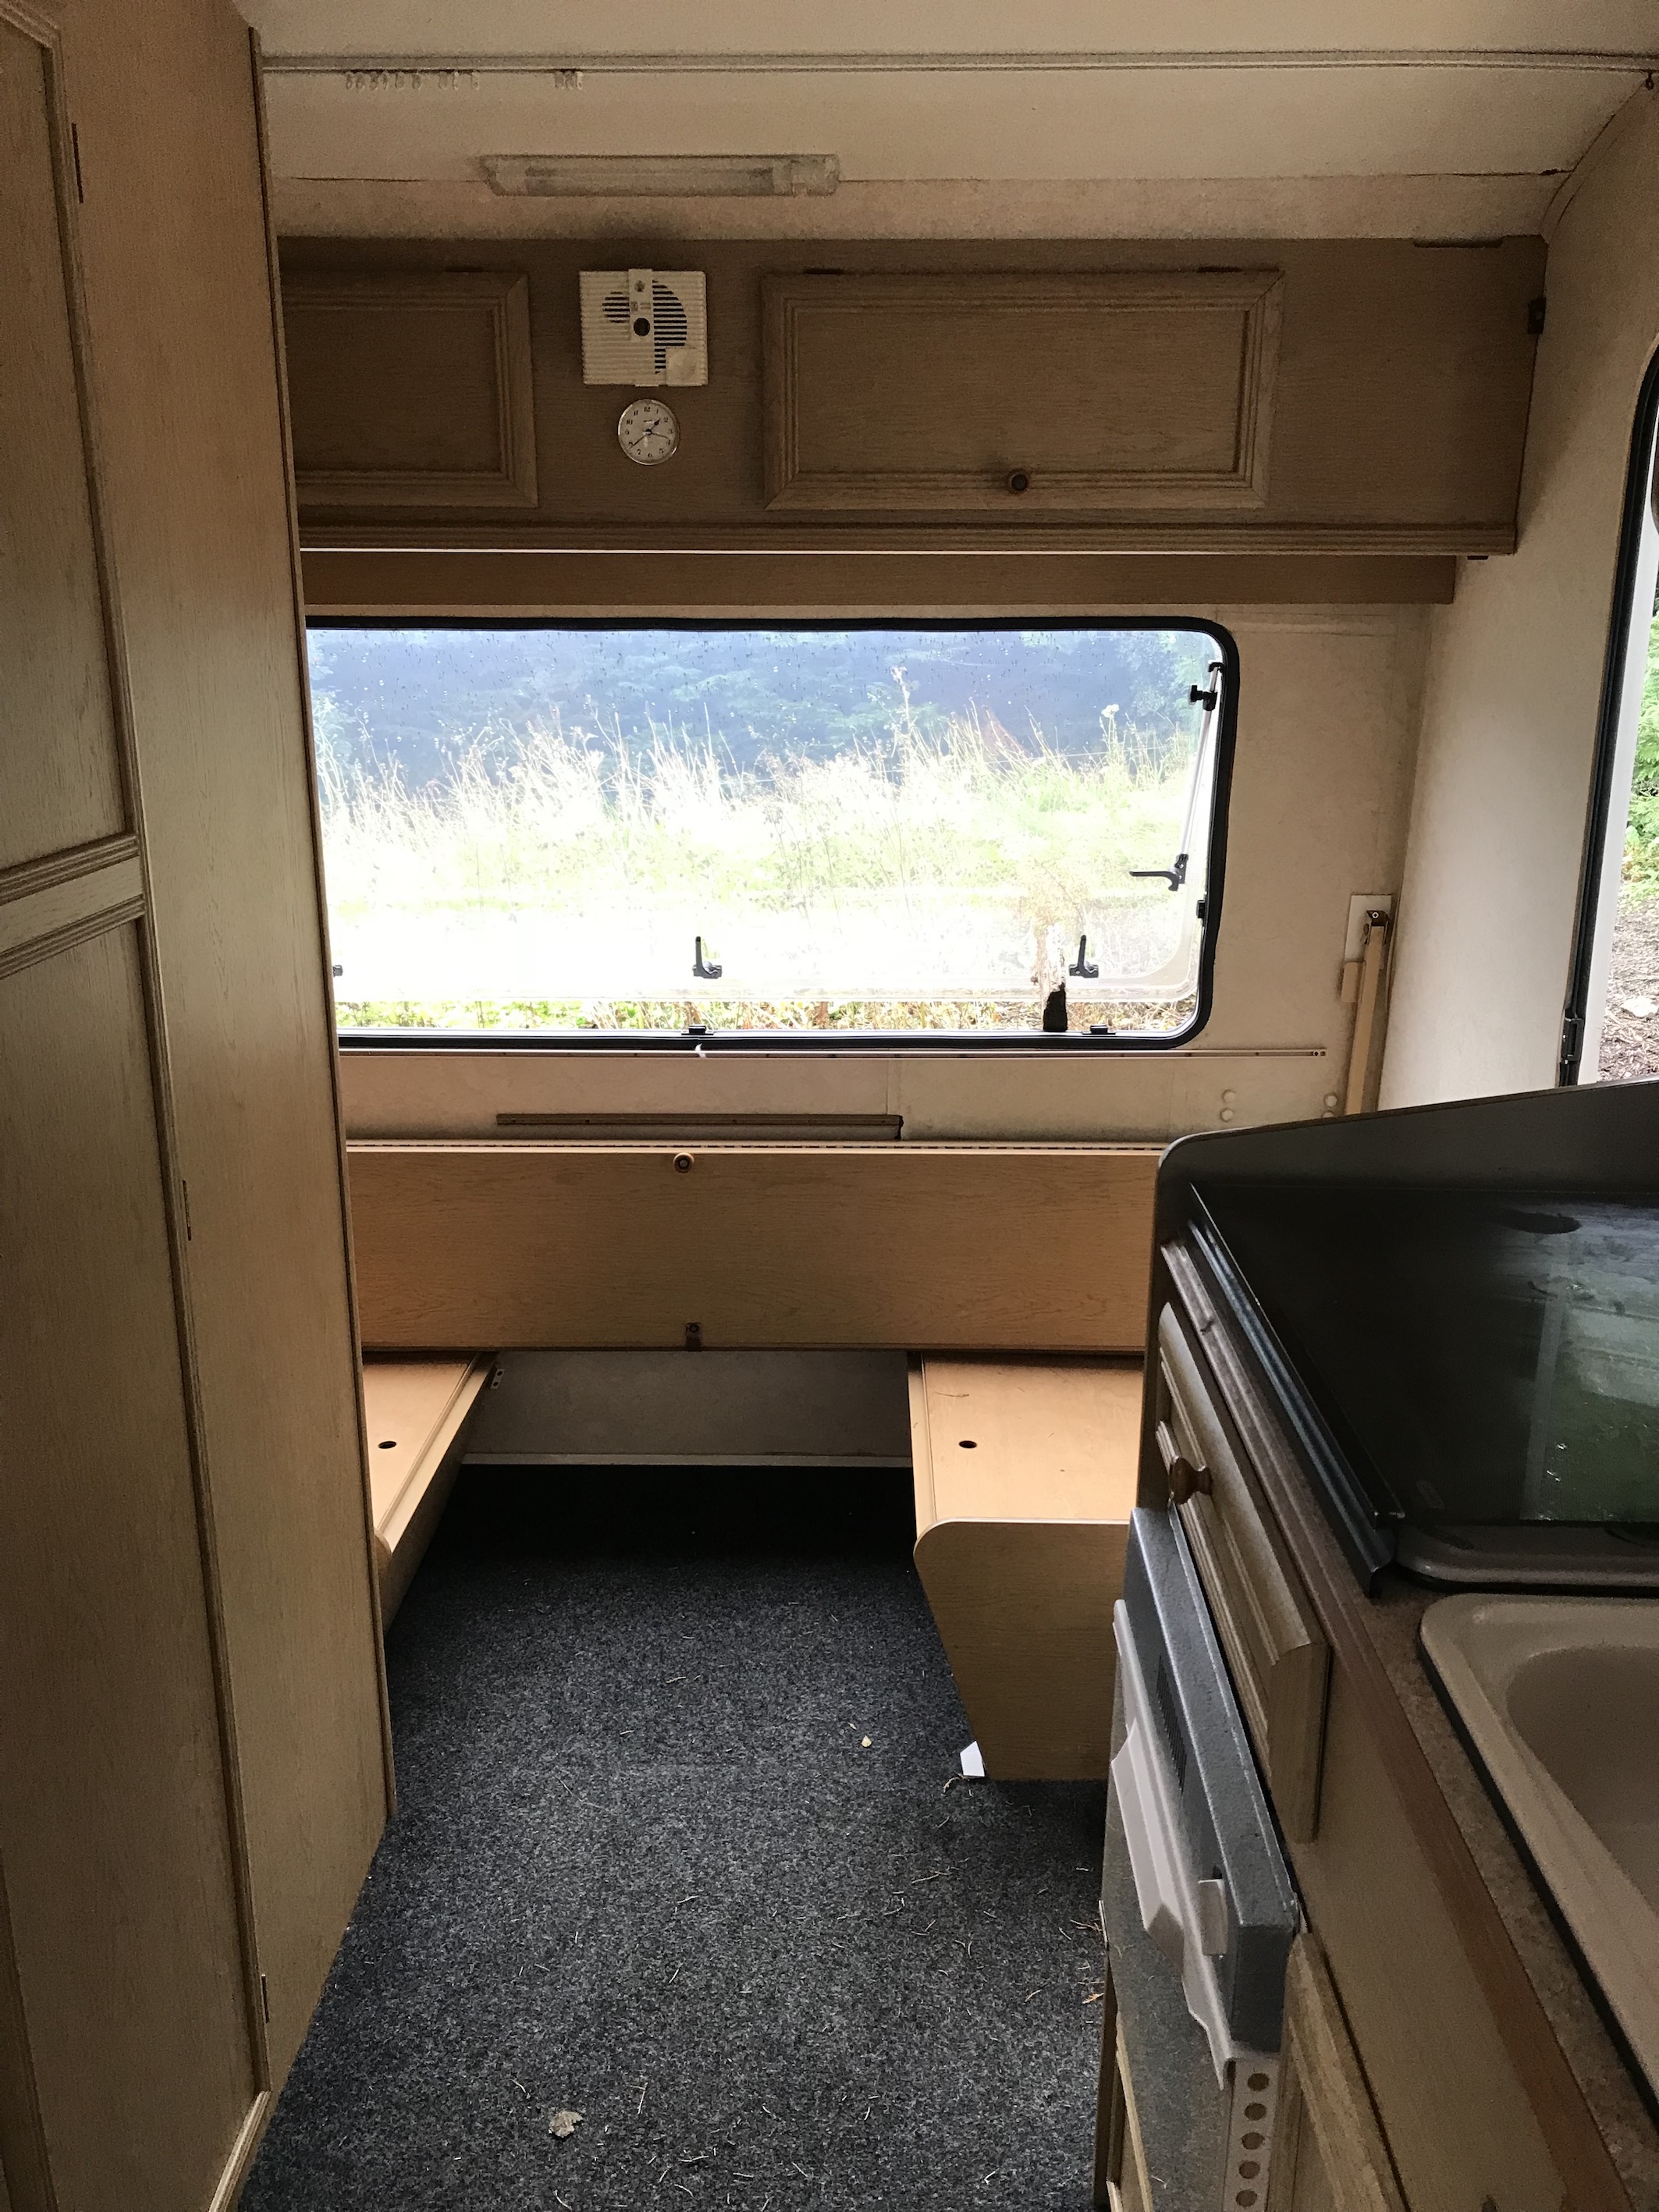
I hope I answered all of your questions regarding the caravan renovation. Don’t forget to visit my Instagram page to see my caravan highlight for even more pictures and videos!
Leanne xxx
